Q. Ajimine
Digital Cinematographer
Sparring: Traditional martial arts, kata, jujitsu, and their relationships to actual combat.
15 years sounds like a long time, but in the thick of it, it’s just a drop in the bucket of time.
I was a traditional US-based Japanese jujitsu practitioner for over 15 years. It took me 7 years (normally 10 in the style I studied) to get my black belt. I achieved this by training every single day nonstop. My brothers and I built a small dojo and a makiwara (a rope wrapped punching post) in our backyard, so we could train on our days off (we all worked in construction at the time and collected the scrapped lumber used in building this mini dojo).
One of the more important parts of our training was full-contact sparring. This wasn’t just randori (freestyle sparring) that is typical in many US-based styles of traditional martial arts, which I wouldn’t necessarily consider true sparring. I don’t say this disparagingly or out of disrespect, because I do have a love for many specifics of traditional martial arts; particularly with regard to the focus on honor, discipline, conditioning, and other character building aspects. However, randori is almost completely rule-based. Meaning, it is limited to the confines of that particular style and not in self-defense in general. Many of these styles limit themselves to reactions to specific types of attack, when this isn’t realistic. Now, this approach isn’t a bad thing for beginners and is a good starting point for introducing the unaccustomed to things, like stepping off the line of attack, parrying, deflecting, intercepting, or other reactionary techniques to an attack, but this practice will rarely prepare the uninitiated for a real fight.
The lack of true sparring is prevalent in many traditional martial arts, including in the style I studied. The difference between our dojo and our cousins in the same style was we actively sparred in every class. If you, the reader, are wondering what the reason for the lack of sparring is, it’s typically for insurance/liability reasons. To join our dojo, it required an acknowledgment of understanding that this was a full-contact dojo and a waiver of liability from the student/participant or parent/guardian.
Our dojo was very old fashioned in that it wasn’t a profit-based style. It was very affordable by any standard. Not because we weren’t business savvy, but because it was about the art form and true self-defense. Not to mention the full-contact aspect was its own detractor. The official classes were typically 3 hours long/3 days a week. Each student was responsible for their own warmup stretching and personal protection (in other words, no one was going to remind you to wear protection or ask you if you were wearing any before a sparring session). The first half hour was all physical conditioning. The next hour was all kata based for belt requirements. The following half hour was full-contact jujitsu/judo randori, which included wooden or hard rubber weapons. The final hour was full-contact free sparring and freestyle grappling (a hybrid version of judo newaza/bjj). This definition of ‘free sparring’ basically means the match parameters were the set by the sensei(s) or the participants (e.g., striking or no striking allowed, takedown to submission only, MMA rules, and no rules (which includes small joint and nerve manipulation, pinching, etc.)). The only protection we used were groin cups, mouth guards and gloves, if necessary. Sparring sessions were both, gi and no gi.
In this type of environment, it is very important to have the right attitude, because injuries (including one’s ego) are not uncommon and should be expected. Bruises and bloody noses are a guarantee. The only techniques practiced at half speed or less is during the kata section. Having the right attitude is paramount. As we would often relay, “this is the place to lose or perform poorly.”
For example: in the randori section using knife attack/defense techniques, the uke (receiver/attacker) will be actively trying to stab the tori (performer/defender). The practice knives we used were wooden. We had hard rubber knives, but they eventually break after a few months, so we preferred to use the wooden versions. Though these knives are dull and have rounded edges, the tips are still pointed enough to scratch and abrade skin, not to mention cause bruising. The reason for such a violent approach to these techniques is because we teach our students that they’d better be mentally prepared to be cut or stabbed in a knife fight. We would also enforce the idea that a knife is far scarier than a gun, because a gun only has one dangerous end and a knife has multiple. Granted, at a distance, a gun is the far more dangerous, and our gun training is to only defend against it if you are sure it’s worth risking death, like in a rape scenario or there’s a certainty that the attacker is going to pull the trigger. Which is also why we also train in these scenarios how to play the victim if you do intend to act. And of course, the most important condition in gun defense: proximity and situational awareness of what’s around you (i.e., assessment of potential victims or multiple attackers). Sometimes the best survival defense is compliance.
How does sparring prepare you in a knife attack situation? Well, as with hand-to-hand combat and professional fighting, timing is key. Sparring prepares and enables you to feel the rhythm and pace of a fight, thus sensing the timing of an attack and the reaction it takes to employ the proper technique more instantly attainable in the moment. This is why I believe kata has its place in martial arts, because it develops muscle memory through repetition. Just as sparring develops control, reaction time, spontaneity, and sensing fight rhythm.
How we approach the kata mindset. In our dojo, kata was simply a means to present a proper technique and to build muscle memory, that’s it. Our kata sessions also included body conditioning using the boken, and bo and jo staffs when doing blocking katas, among other body conditioning exercises that increased muscle memory (we went home with many bruises during those days). Advice: never choose the octagonal staffs when doing blocking exercises.
This was the ‘old way’ of traditional martial arts training that was lost when it was westernized and commercialized. We regularly had local MMA fighters and BJJ competitors come train with us, because our style of jujitsu was practical. And it was practical because of the full contact sparring. We knew, individually, what techniques would work for us in specific circumstances, and which didn’t. In this context, sparring helps to hone and master one’s current skill set.
Some history: I should point out that the reason traditional jujitsu was overlooked and even criticized by people, like Jigoro Kano (Kodokan judo founder), was because of its lack of consistency. In other words, one school may have had a specific judo throw or jujitsu technique that was completely different from another school’s technique that shared the same name. This was the fluid and flexible nature of jujitsu. Kata was just a base form for that technique, but you adapted it to your way of fighting. If you couldn’t adapt it to work for you, then you dropped it from your repertoire (though still practicing the kata; this is also why katas would change or be watered down into “flowery” forms over time). Sure, it was also to continue the tradition of the art’s legacy, but it had no practical purpose beyond these things. Katas were also meant as a means to hide the technique from competitors, but that’s another story, which I couldn’t find a lot of corroborated stories on.
I found more stories regarding katas/forms as a means of hiding technique in Chinese martial arts history than jujitsu specifically, but I came to my current opinion through a compilation of related articles. This also includes the origin of jujitsu, which was first known as, yawara. This term has no definition or translation in Japanese and from what I’ve found, in what little research there is on the subject, it is simply described as, “a ruffians sport.” One article I read stated that it was brought to the Pacific Asian regions from India by the Bodhidharm, who took the Indian arts and combined them with the hand/joint grappling techniques that is the basis of Kung Fu and brought this amalgamation to Japan. The Japanese later added their own techniques and eventually invented leg submissions to the mix. Apparently, leg submissions don’t exist in any other historical context until this time. So, by deduction, one can objectively conclude that the ideologies of concealing technique through forms would also be passed down. Especially considering that during these times the cultures in question were warring by nature, therefore concealing military techniques would be considered to be a prudent practice.
The history of jujitsu within Japan is also an interesting story. A few of the Japanese based articles state that a certain imperial general saw how the most elite soldiers in his charge all had one thing in common, they “practiced” or partook in yawara as a pastime. He recognized the practical value of it and began to learn it. He then adapted it into all the other military forms of combat, such as weapons. At this point jujitsu was an all-encompassing martial art. As an imperial general, he was also very intelligent and pragmatic, and he realized that he could not let an all-encompassing martial art be freely given to all in power. After all, Japan was a warring culture that was in constant state of civil war in some form or another. So, though he wanted to have an unrivaled military power, he knew that it was also a recipe for disaster that would threaten an already unstable Empire. So, in his wisdom, he formed jujitsu as a base. It became a weaponless, hand-to-hand combat form. The weapon forms would be compartmentalized and divided up between the different daimyo’s (feudal lords/families/landowners). In this way, no daimyo would have a technical advantage over another and the Empire would be the only one holding all the cards, so to speak.
Now, I know it may seem like I’m digressing from the topic of sparring, but in the context of historical accounts, it is apparent that sparring in the form of yawara led directly to these individuals becoming the elite among the rank and file.
Important fact: Jigoro Kano, like Morihei Ueshiba (founder of aikido) were both accomplished jujitsu masters before they formed their own styles. Judo techniques also existed in jujitsu prior to Kano’s influence, they just weren’t consistent as previously stated. Kano standardized those techniques into a sport friendly form as a way to continue the martial practice, since jujitsu and other military arts were banned during Japan’s early era of westernization. This is the reason I think jujitsu never truly recovered as the preeminent Japanese martial art, and why judo and aikido never became as powerful of an art. Judo dove deep into the sports world and became too entrenched in its standardization. Whereas aikido simply left behind the hard and violent roots of its origin. I highly respect Ueshiba, so I want to be careful in how I word this next statement. My belief, as to why no aikidoka has ever reached the pinnacle height of O-Sensei, is because they lacked the abilities O-Sensei gained from his mastery of jujitsu as well as the experience, insight, and knowledge he gained from the field of battle.
BJJ also gets its direct roots from Japanese jujitsu/judo. The Gracie’s teacher, Mitsuyo Maeda, was a traditional jujitsu and judo master. This is why you will find BJJ techniques with a direct correlative base to judo newaza techniques. This isn’t just to basic techniques, like sweeps, takedowns, or arm and leg submissions, but to more complex techniques, like the omoplata (sankaku garami in judo newaza). The reason BJJ has advanced so quickly as a sport and self-defense is primarily due to the safer nature of grappling. You can grapple/spar, in relative safety with someone, at a harder and higher pace than with the striking styles or even traditional jujitsu.
Traditional jujitsu is a true martial art by any definition. Meaning the techniques were developed and meant to effectively and efficiently stop your opponent(s) in actual combat. Therefore, you cannot safely practice at any realistic level without causing serious or severe injuries, as well as death. When reviewing historical jujitsu and even early judo matches, several of these matches would end in death. Some of these deaths would be exacerbated by exhaustion because the matches would last hours or even days, and of course because some were too proud to lose or would win by any means necessary. You could, by western standards, consider these “death matches” as akin to a pistol duel. Just like the katana (steel sword) and boken (wooden sword) duels, many of which also ended in death. Just read about Miyamoto Musashi’s exploits. These techniques were practical in its historical usage, but when it was resurrected and commercialized for profit, the hard edge of the ancestral techniques were dulled and the current iterations, especially in the US, are mere shadows of themselves. And with the removal of hard sparring, traditional martial arts become nothing more than showpieces.
Final note: there’s nothing wrong with traditional martial arts per se, as long as you are not under the illusion that you’re going to be able to successfully defend yourself without any realistic practice. A martial art where people respectfully throw or submit themselves is no different than pro wrestling. Sure, they’re both athletic, a great workout, and you learn how to take a proper fall, but neither are preparing you for a real fight.
In closing, if anyone is looking for a traditional martial art to study, because they want to learn a practical self-defensive art, keep the above lecture in mind. If these schools aren’t committed to full contact sparring, then you’re not really going to learn how to react in a real fight. Even full contact sparring isn’t going to completely prepare you for the realities of an actual fight, but it will desensitize you to a performative level. If you can’t find a full contact dojo, then your best bet would be to join an MMA gym.
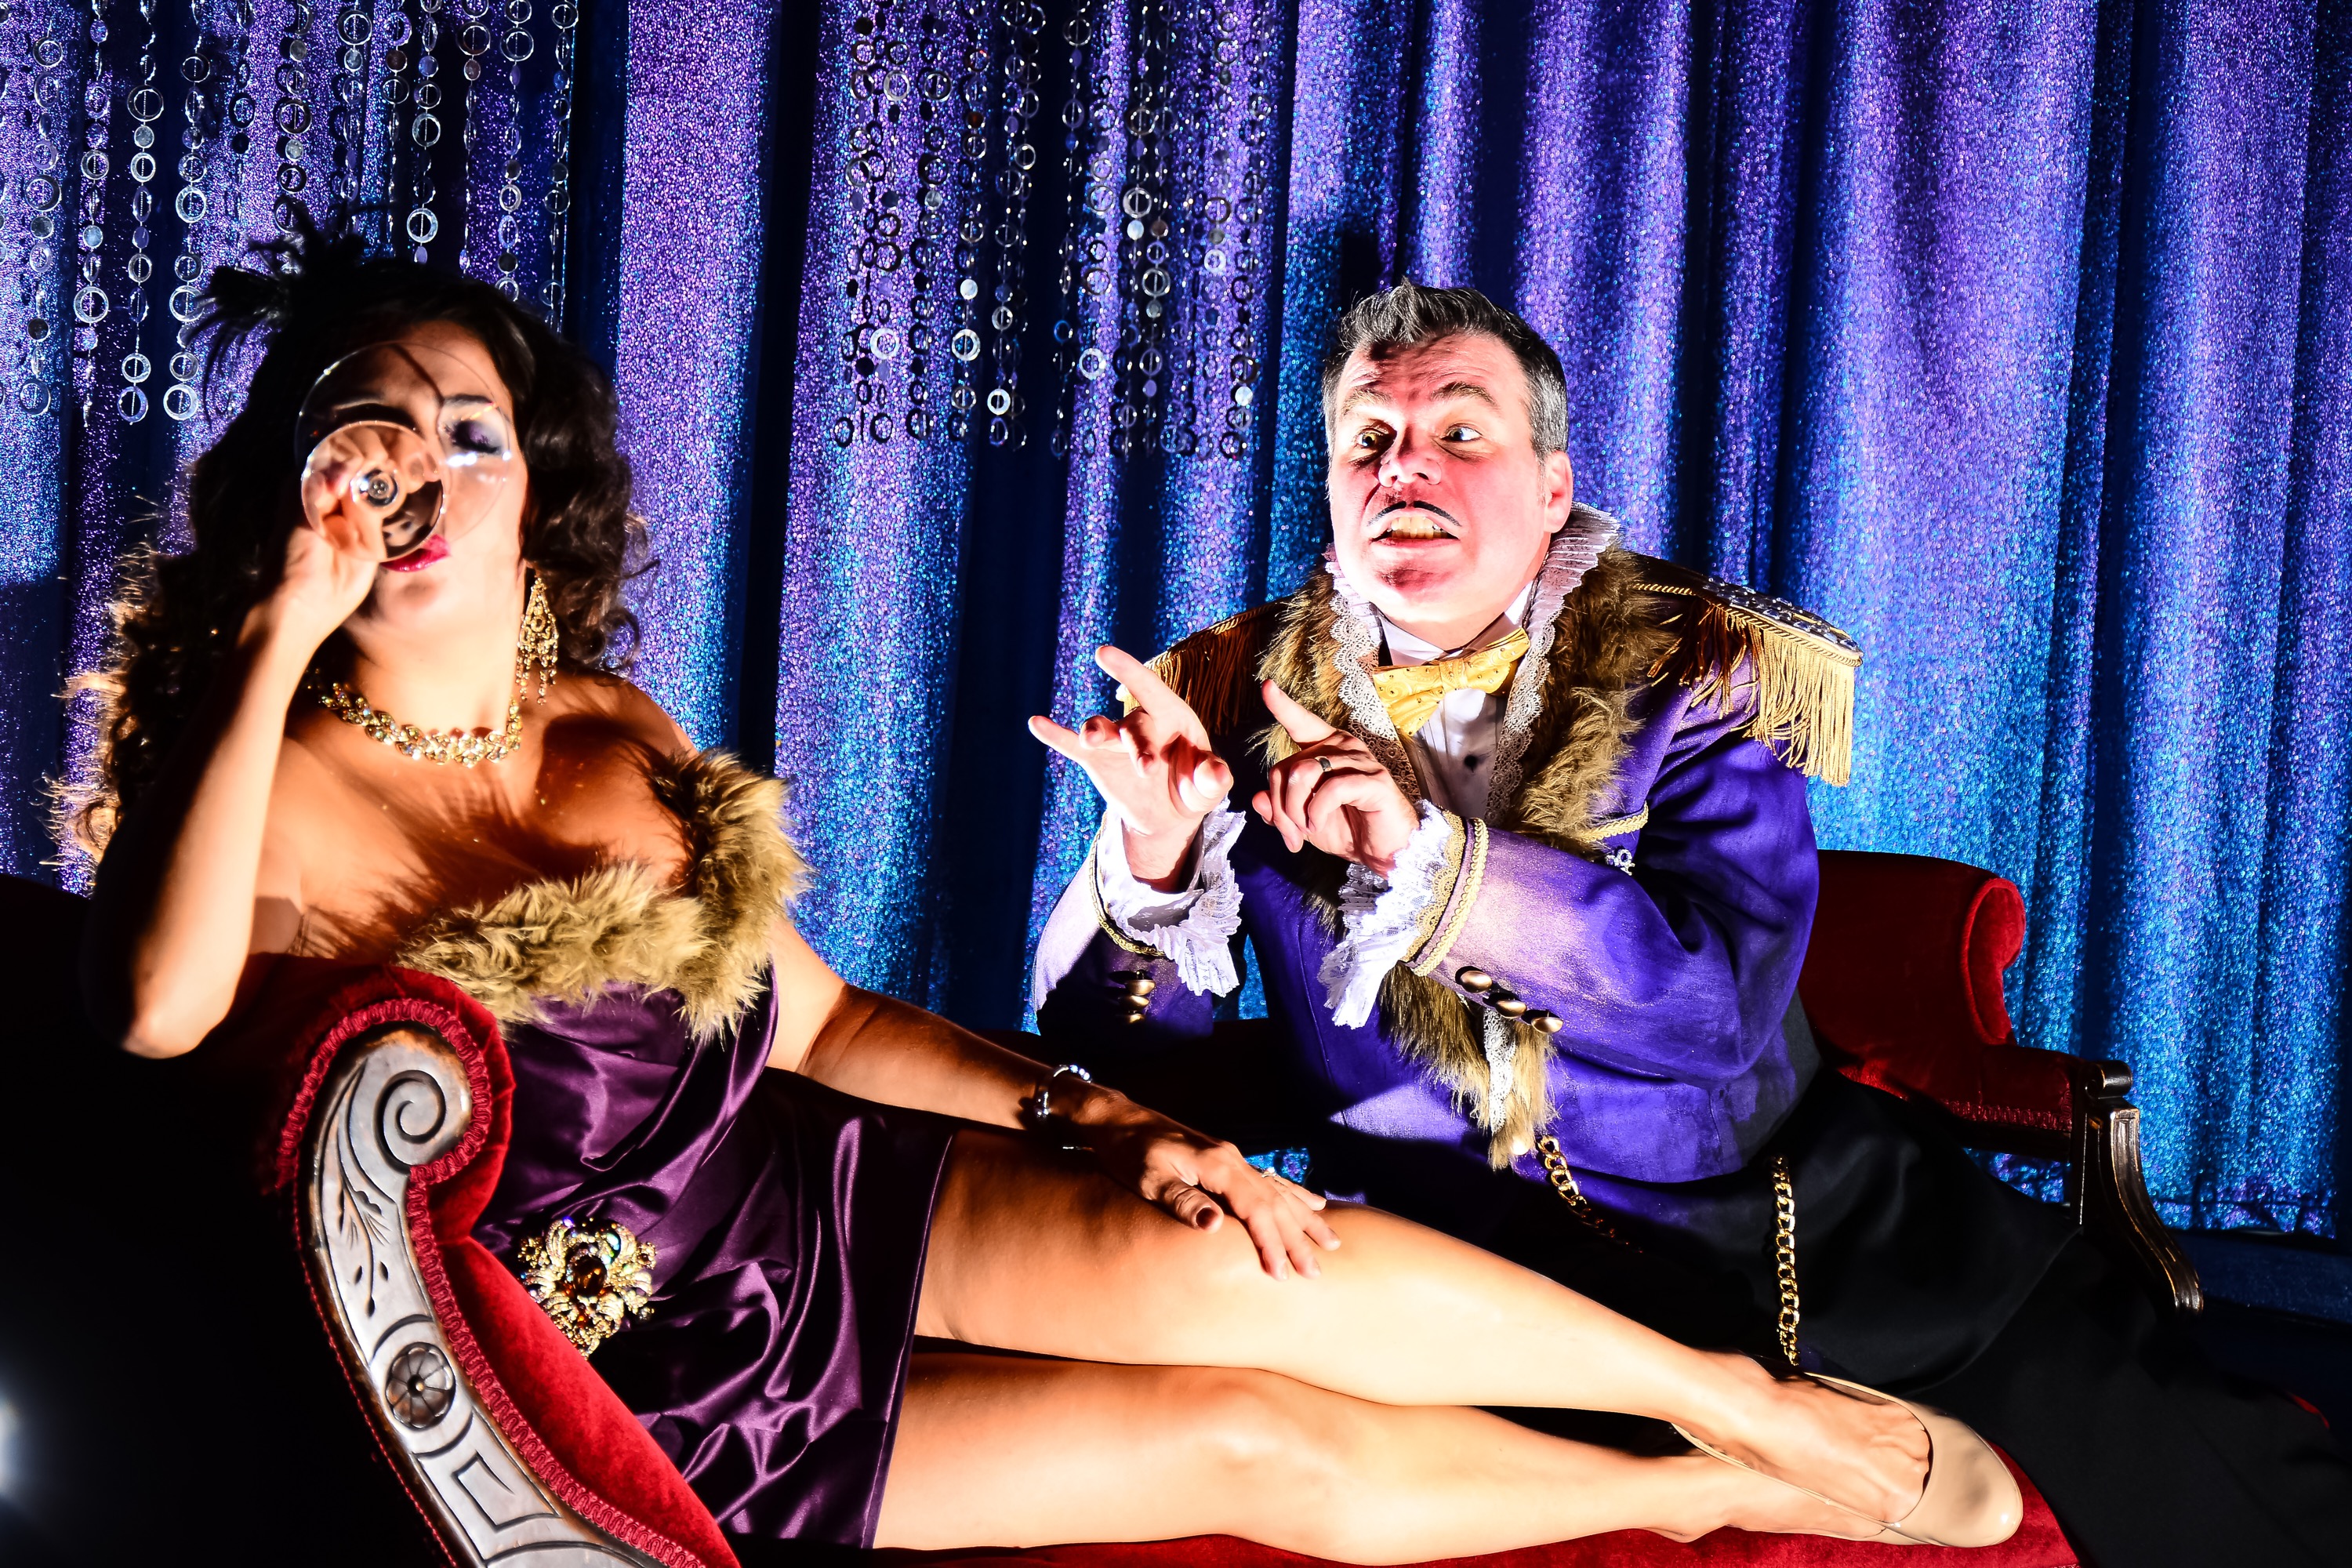
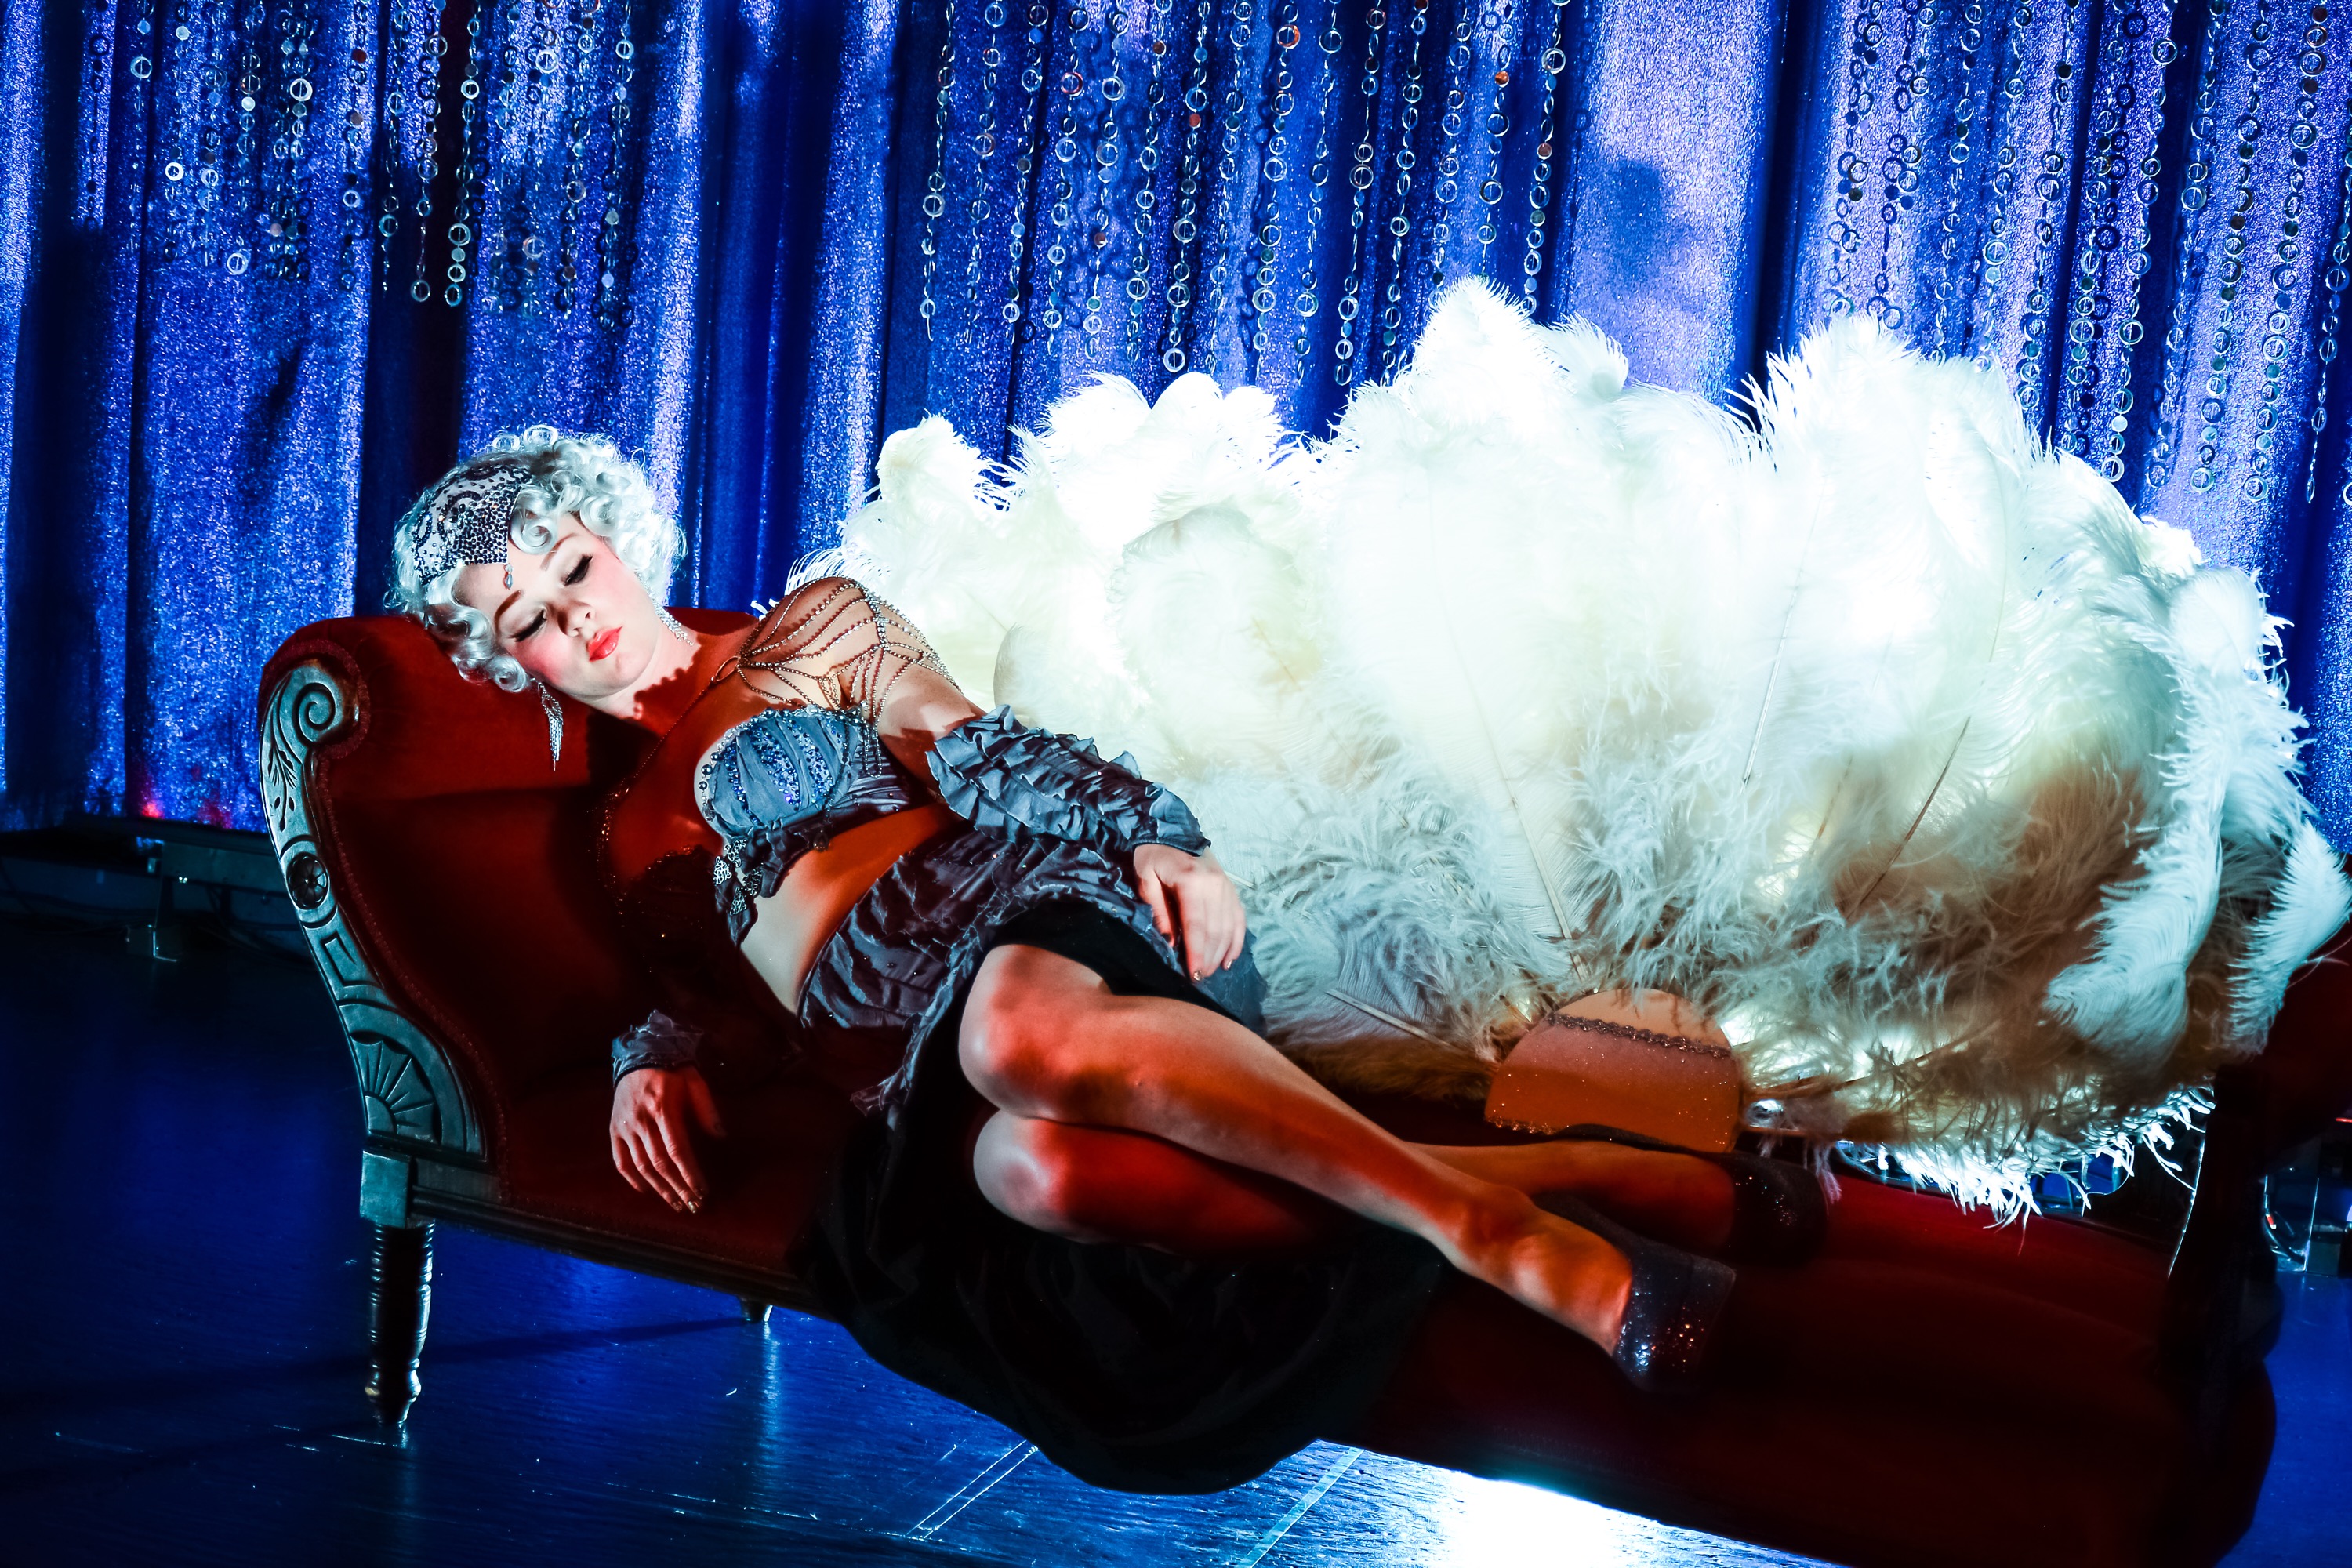
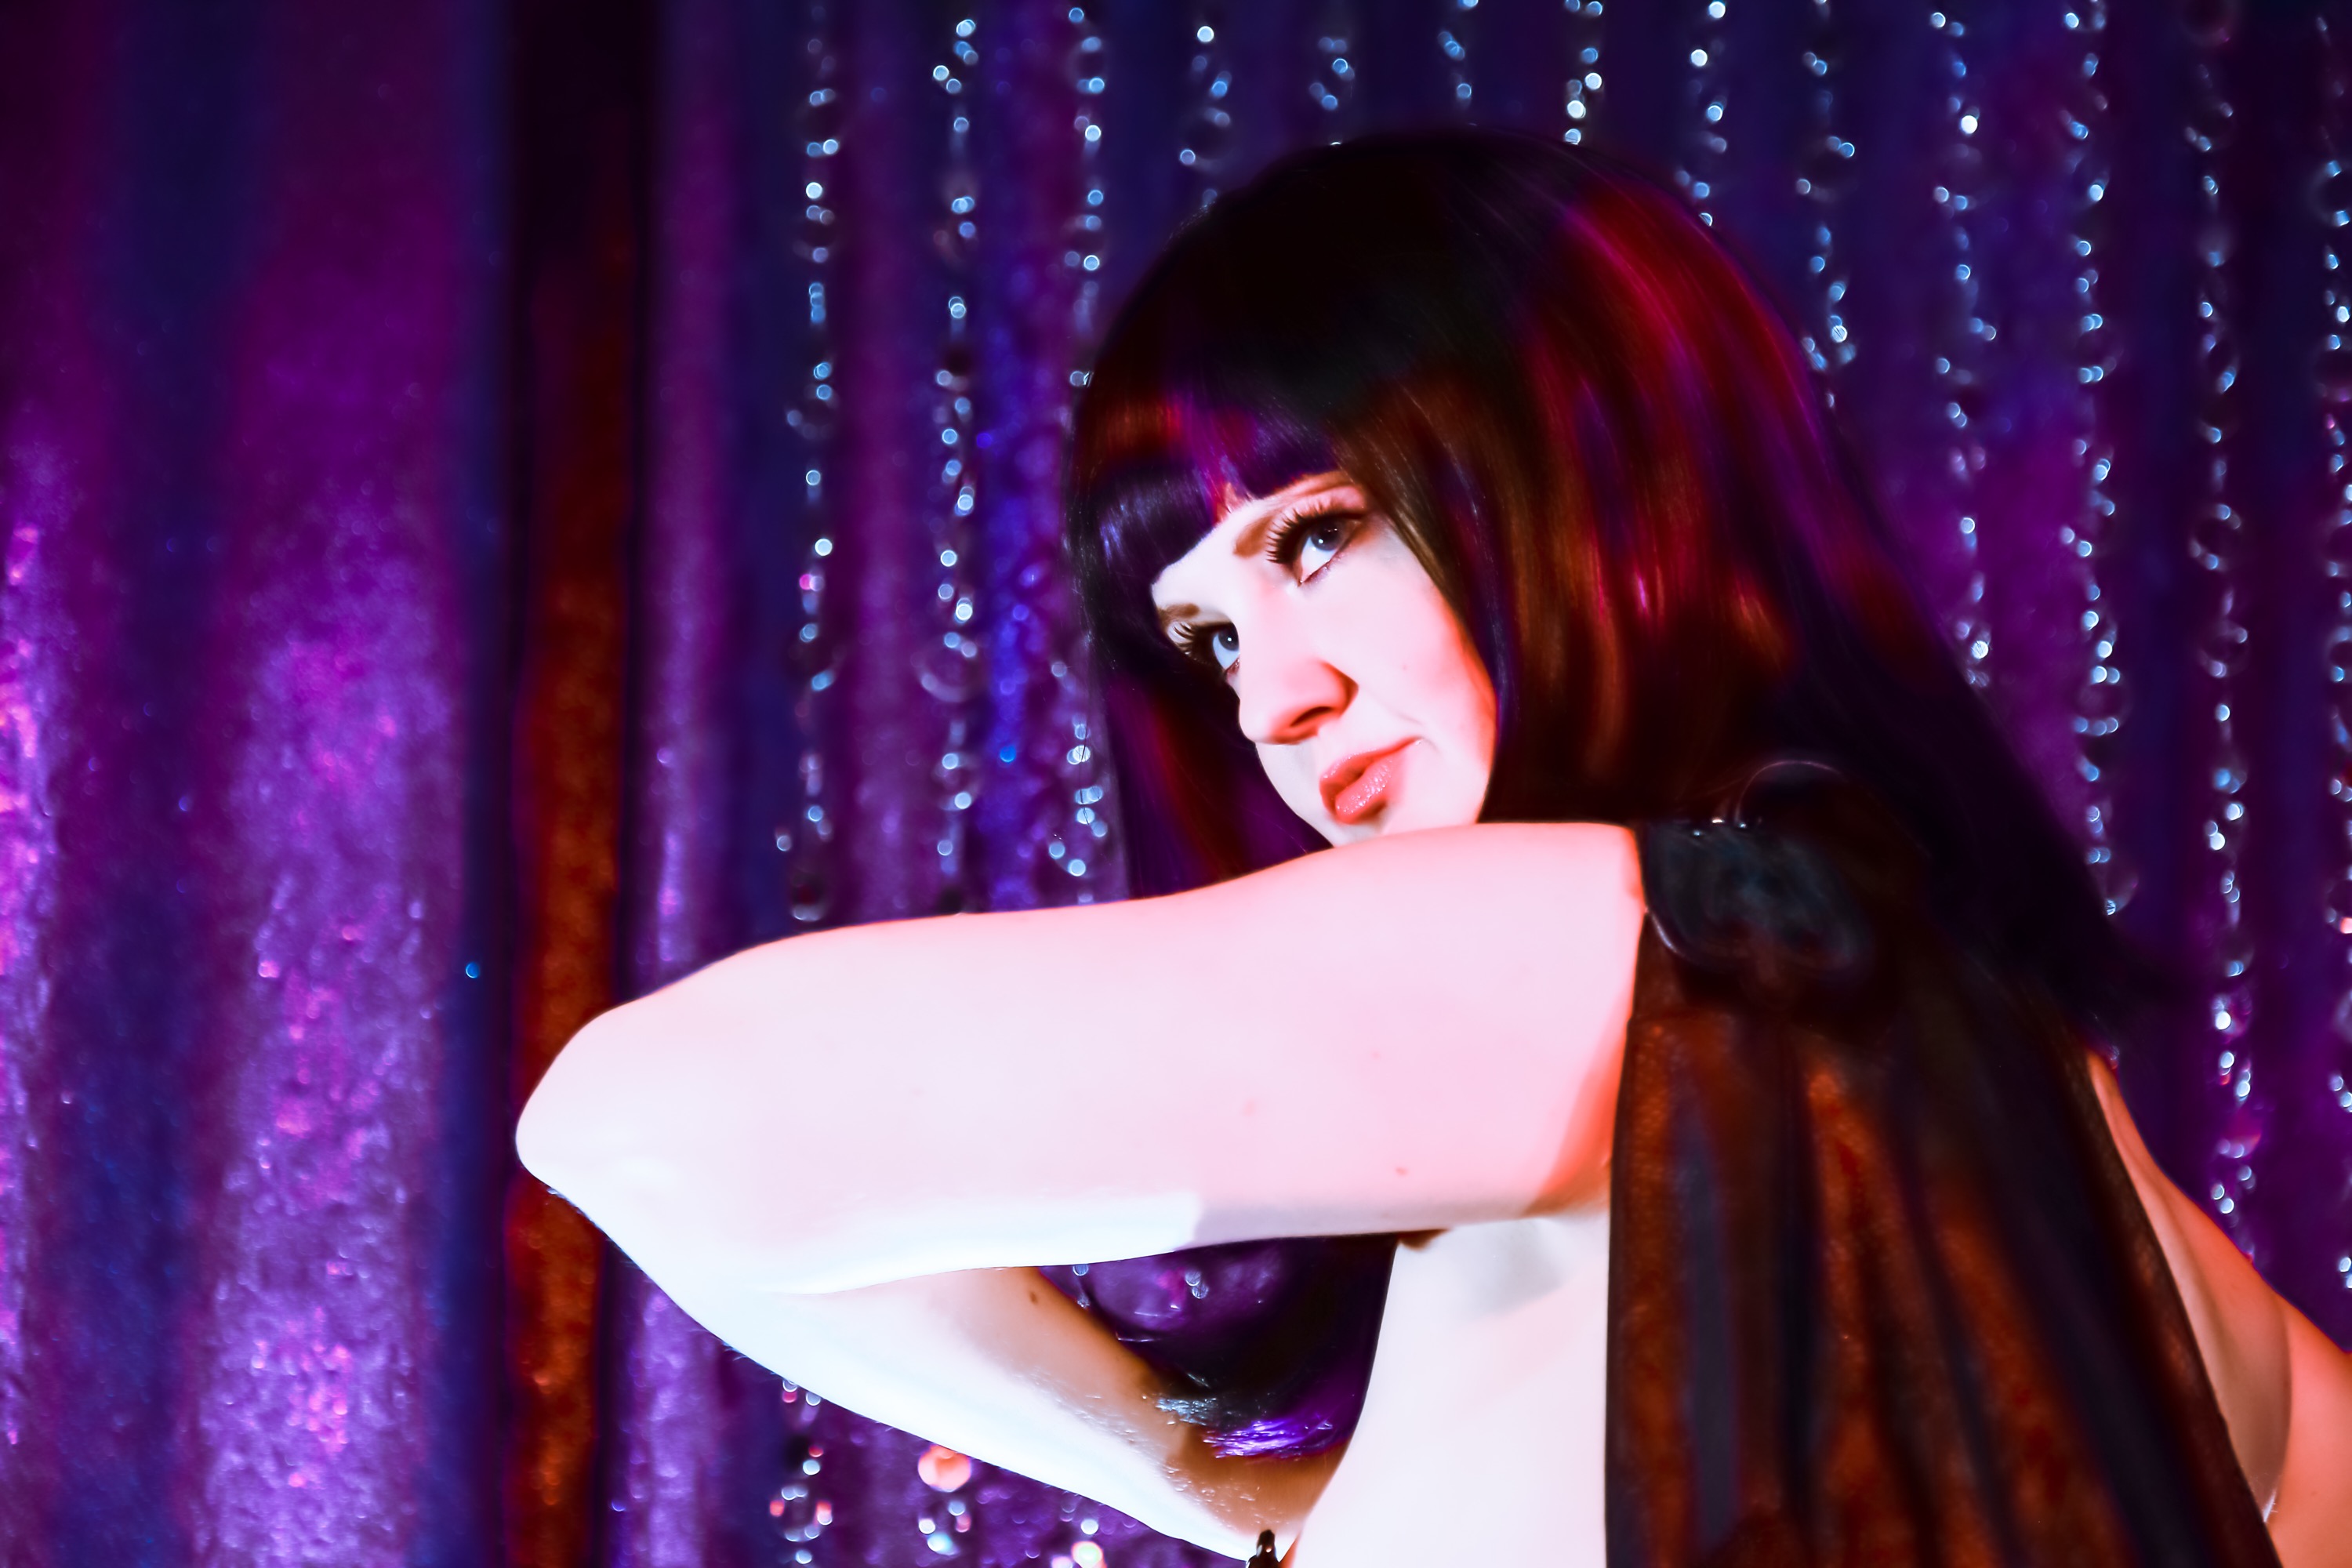
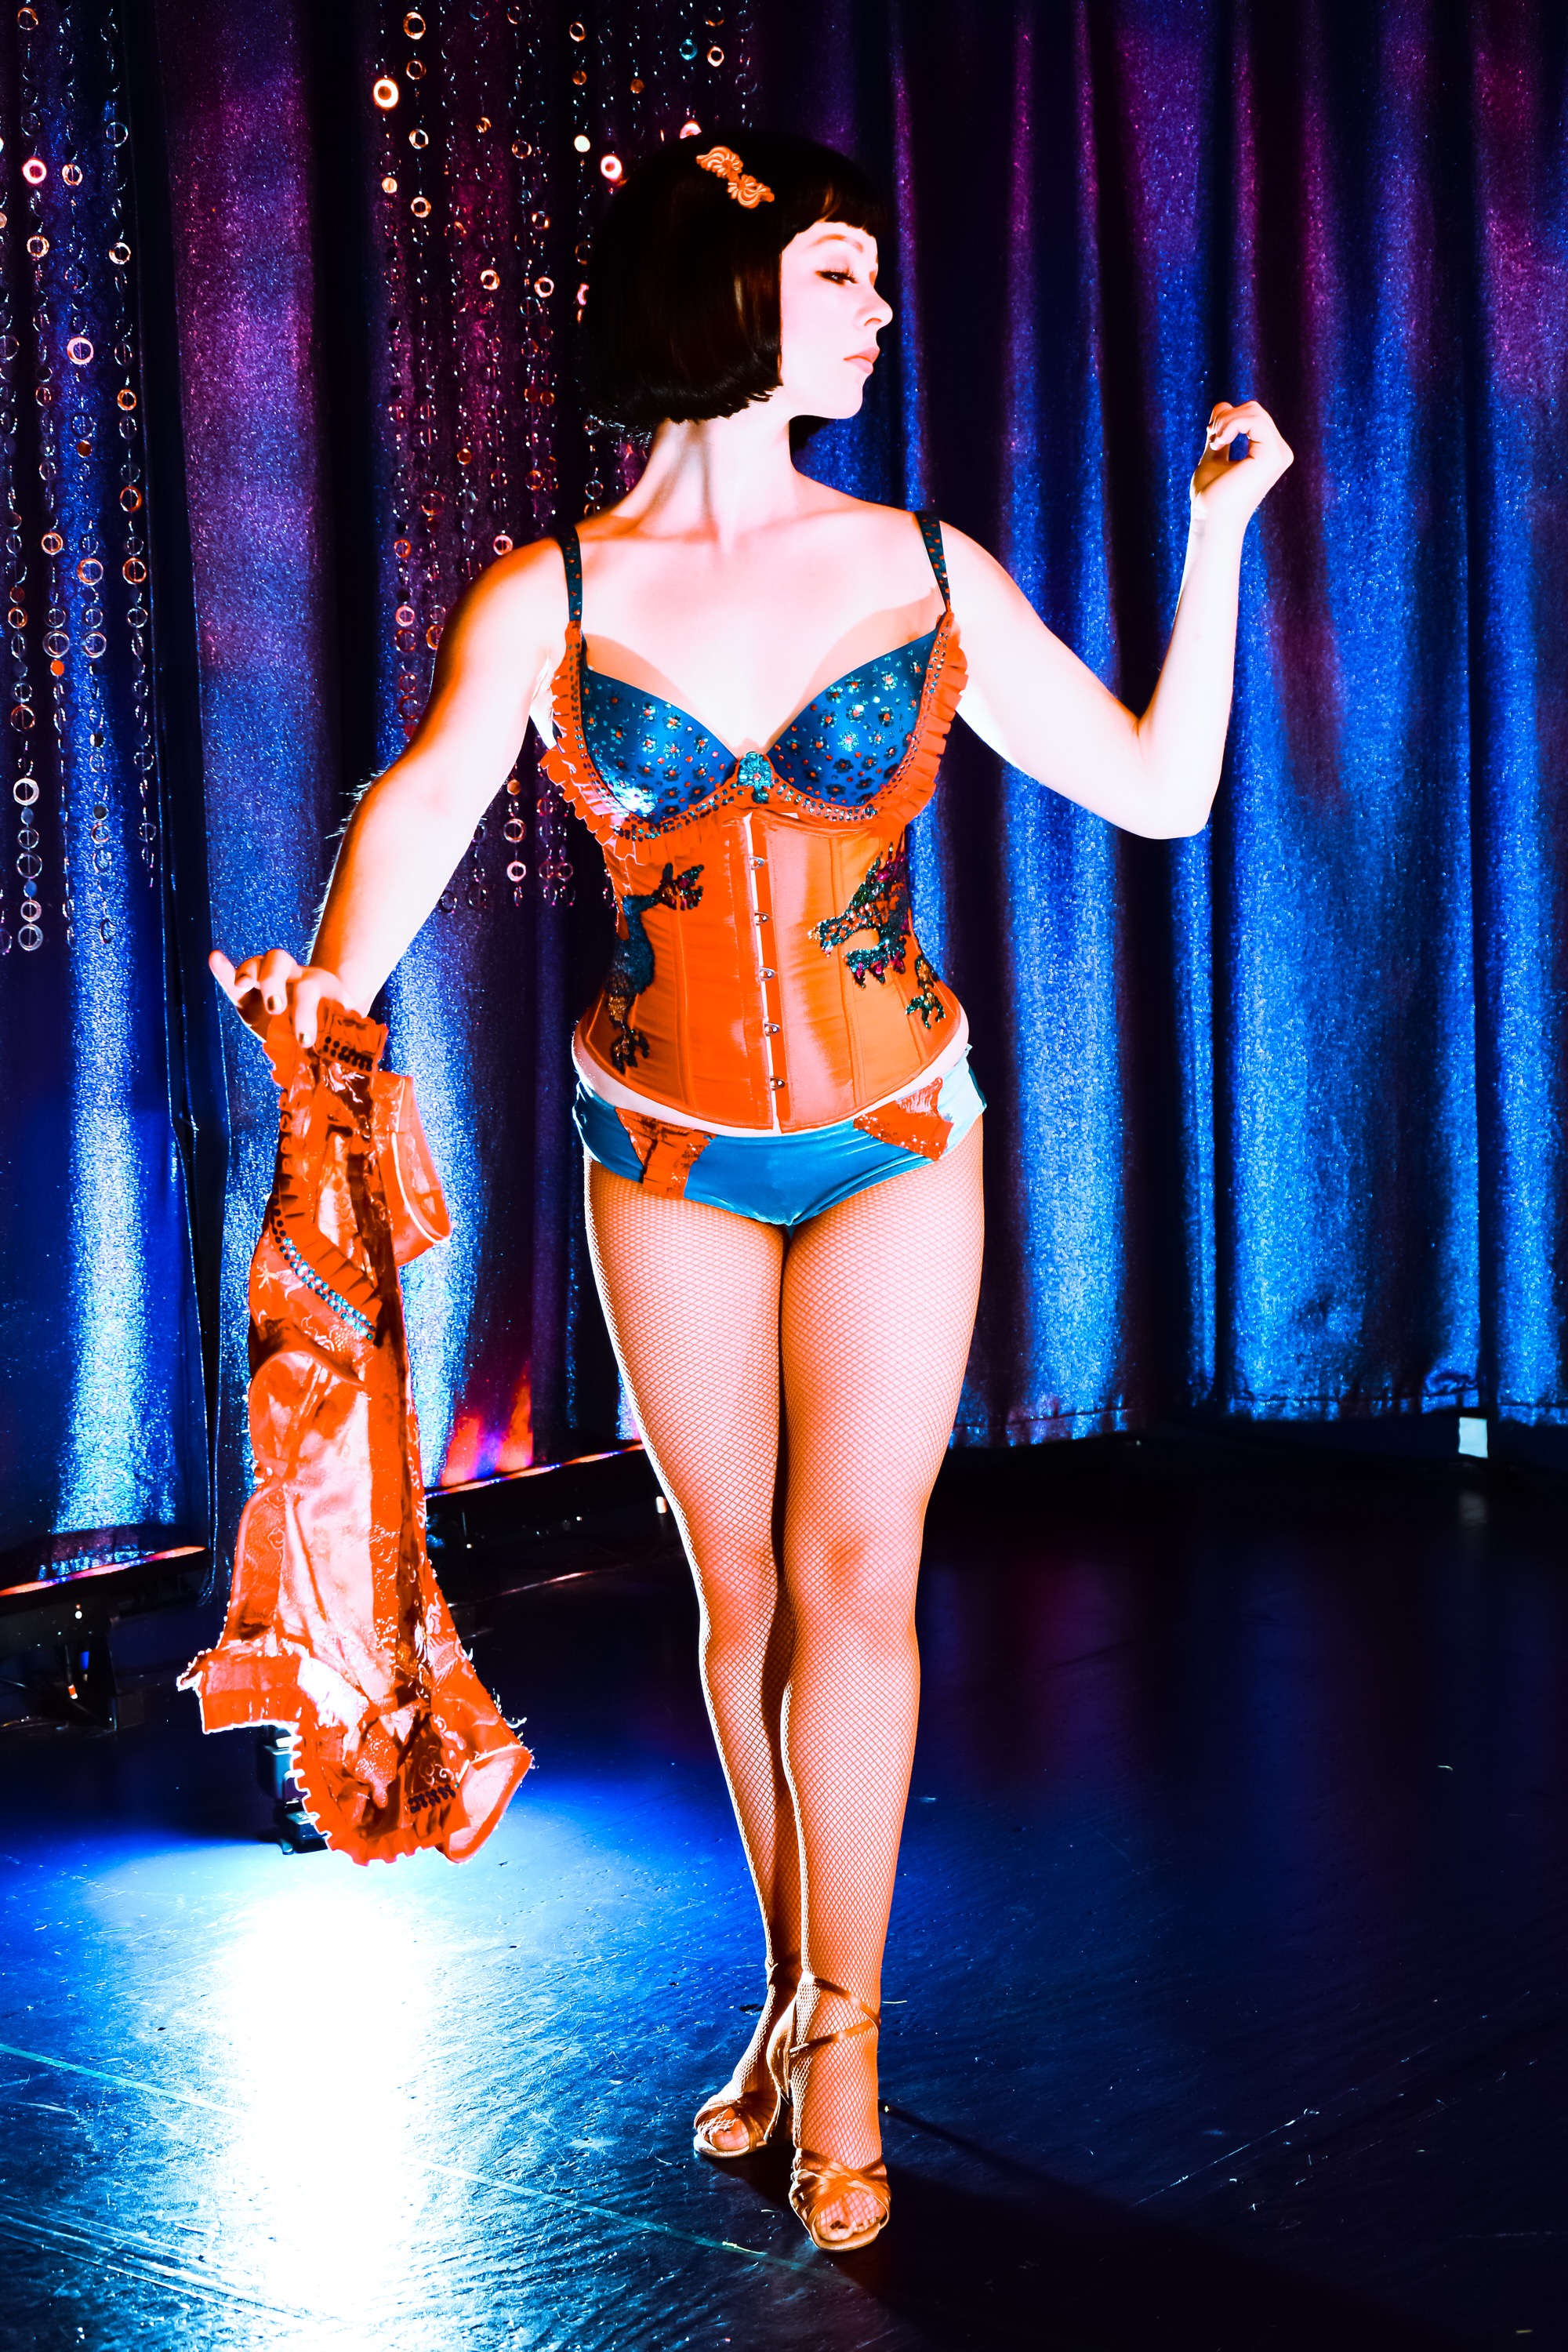
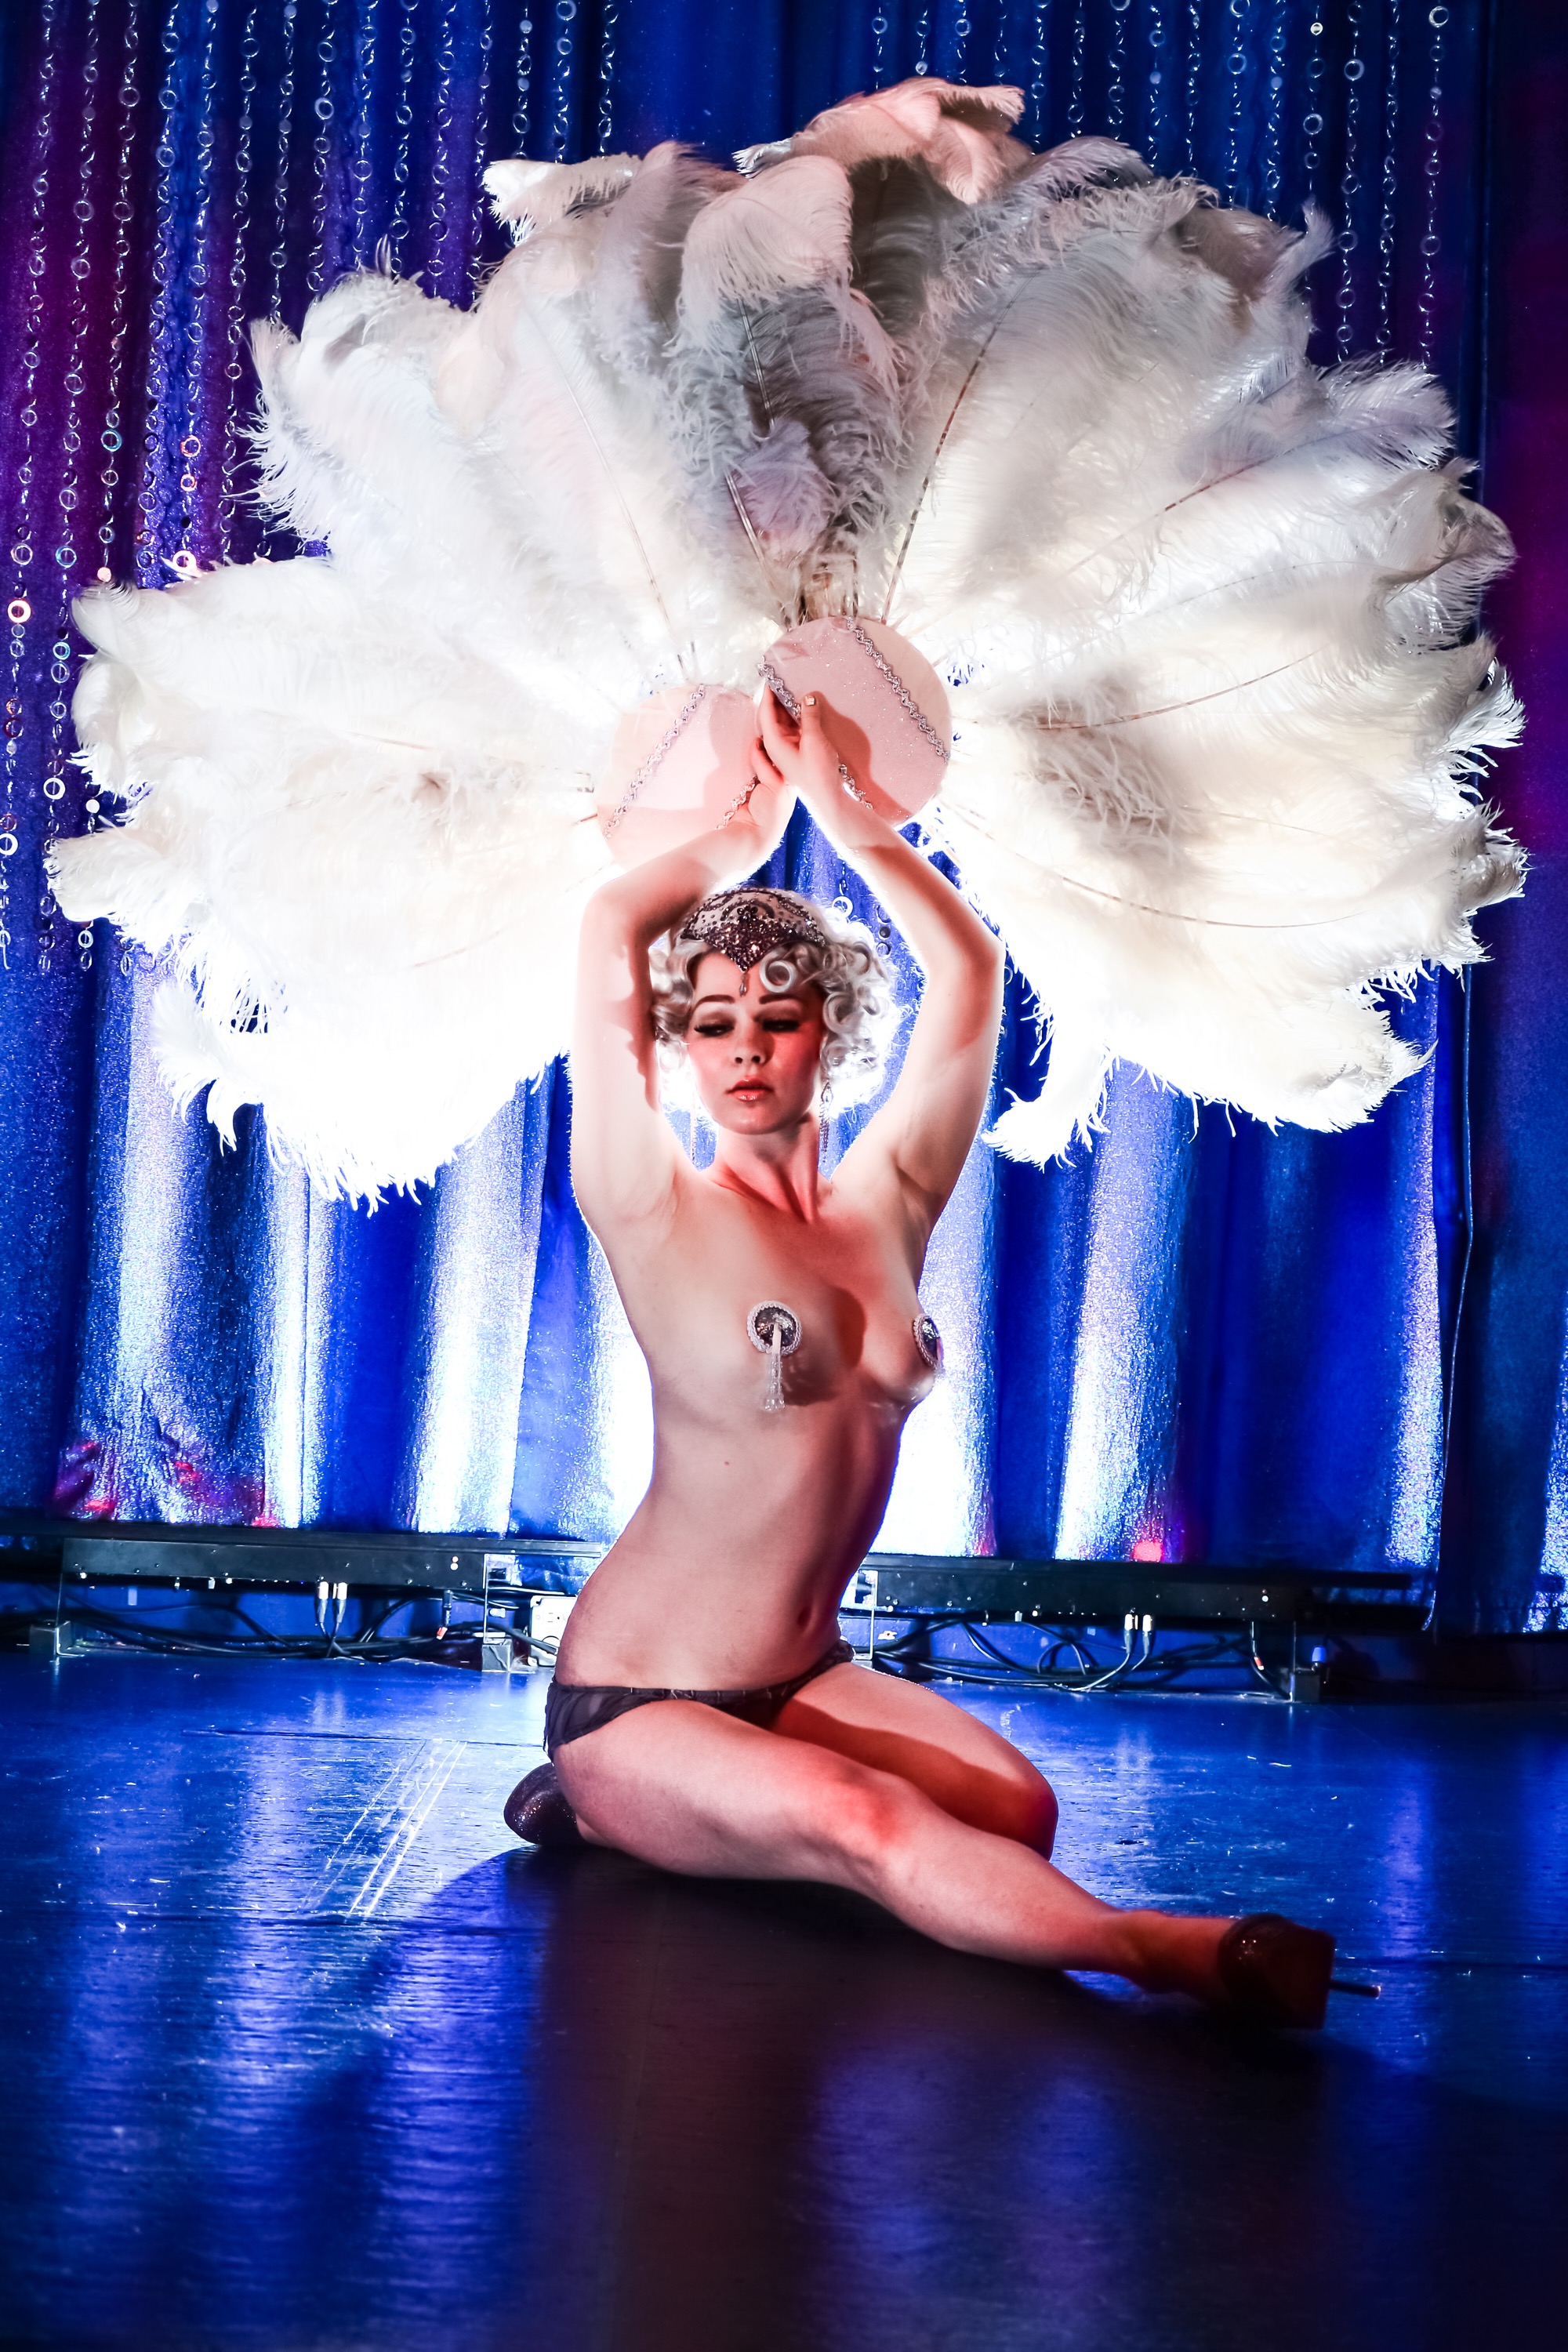
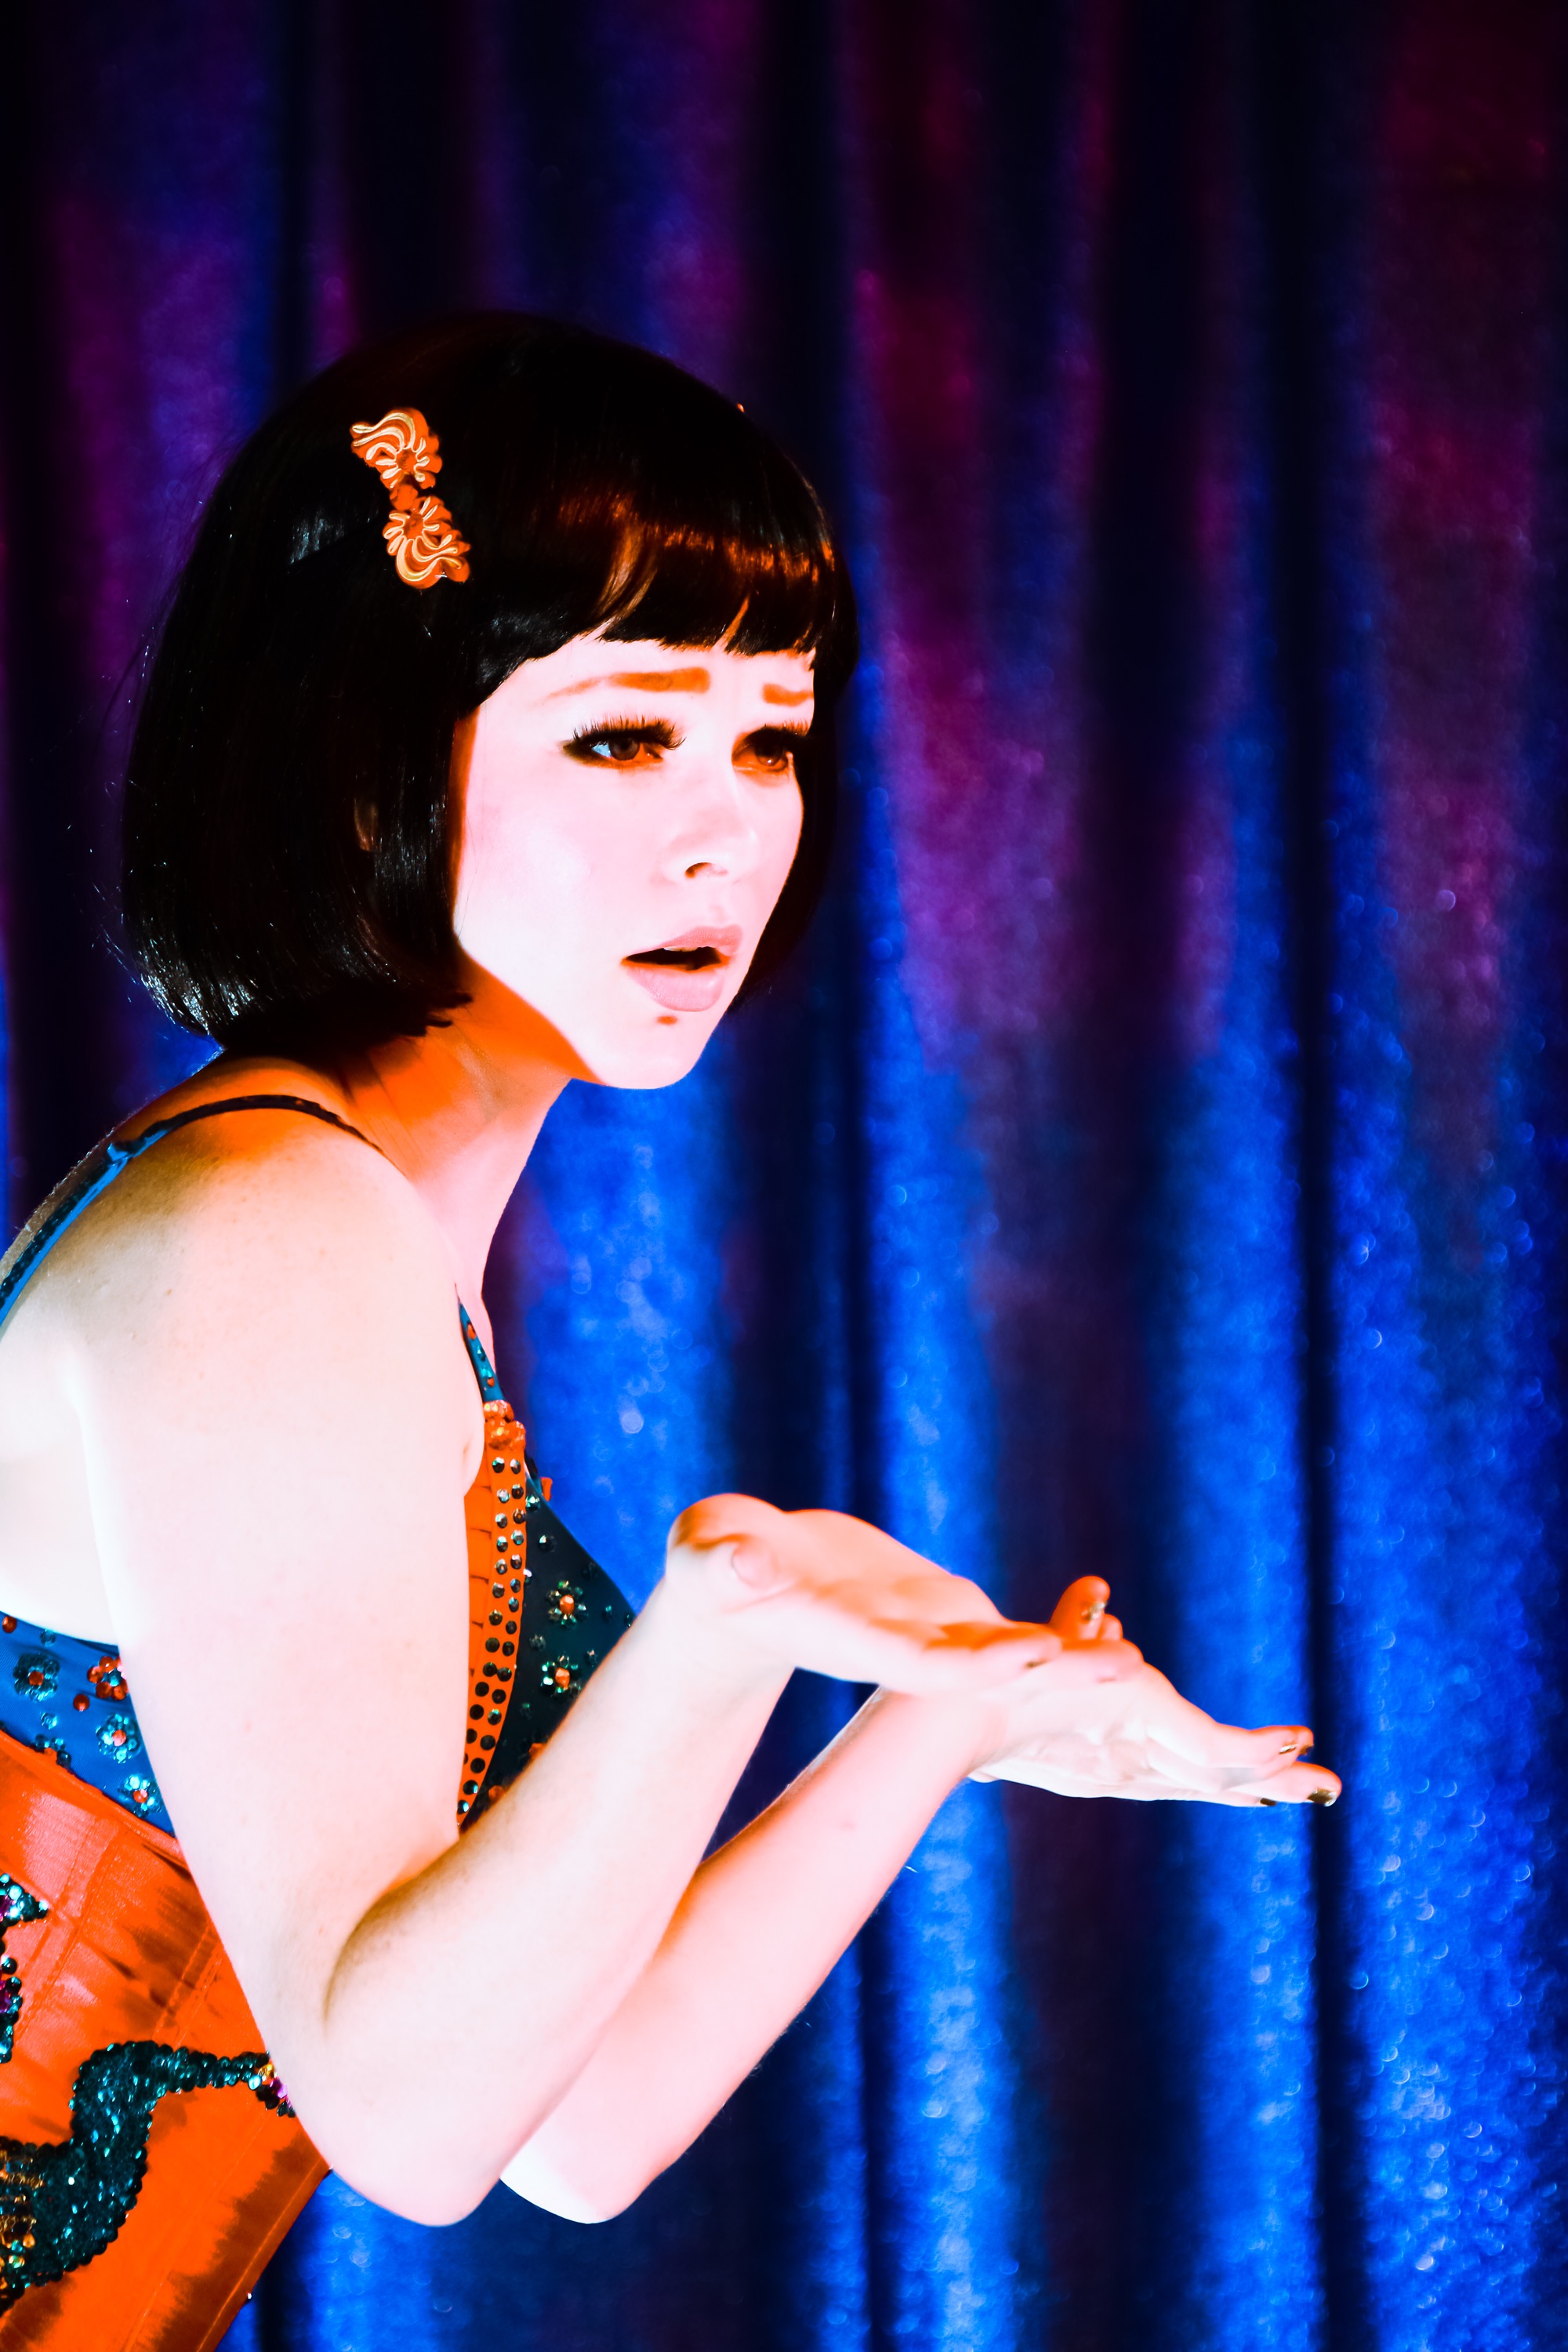
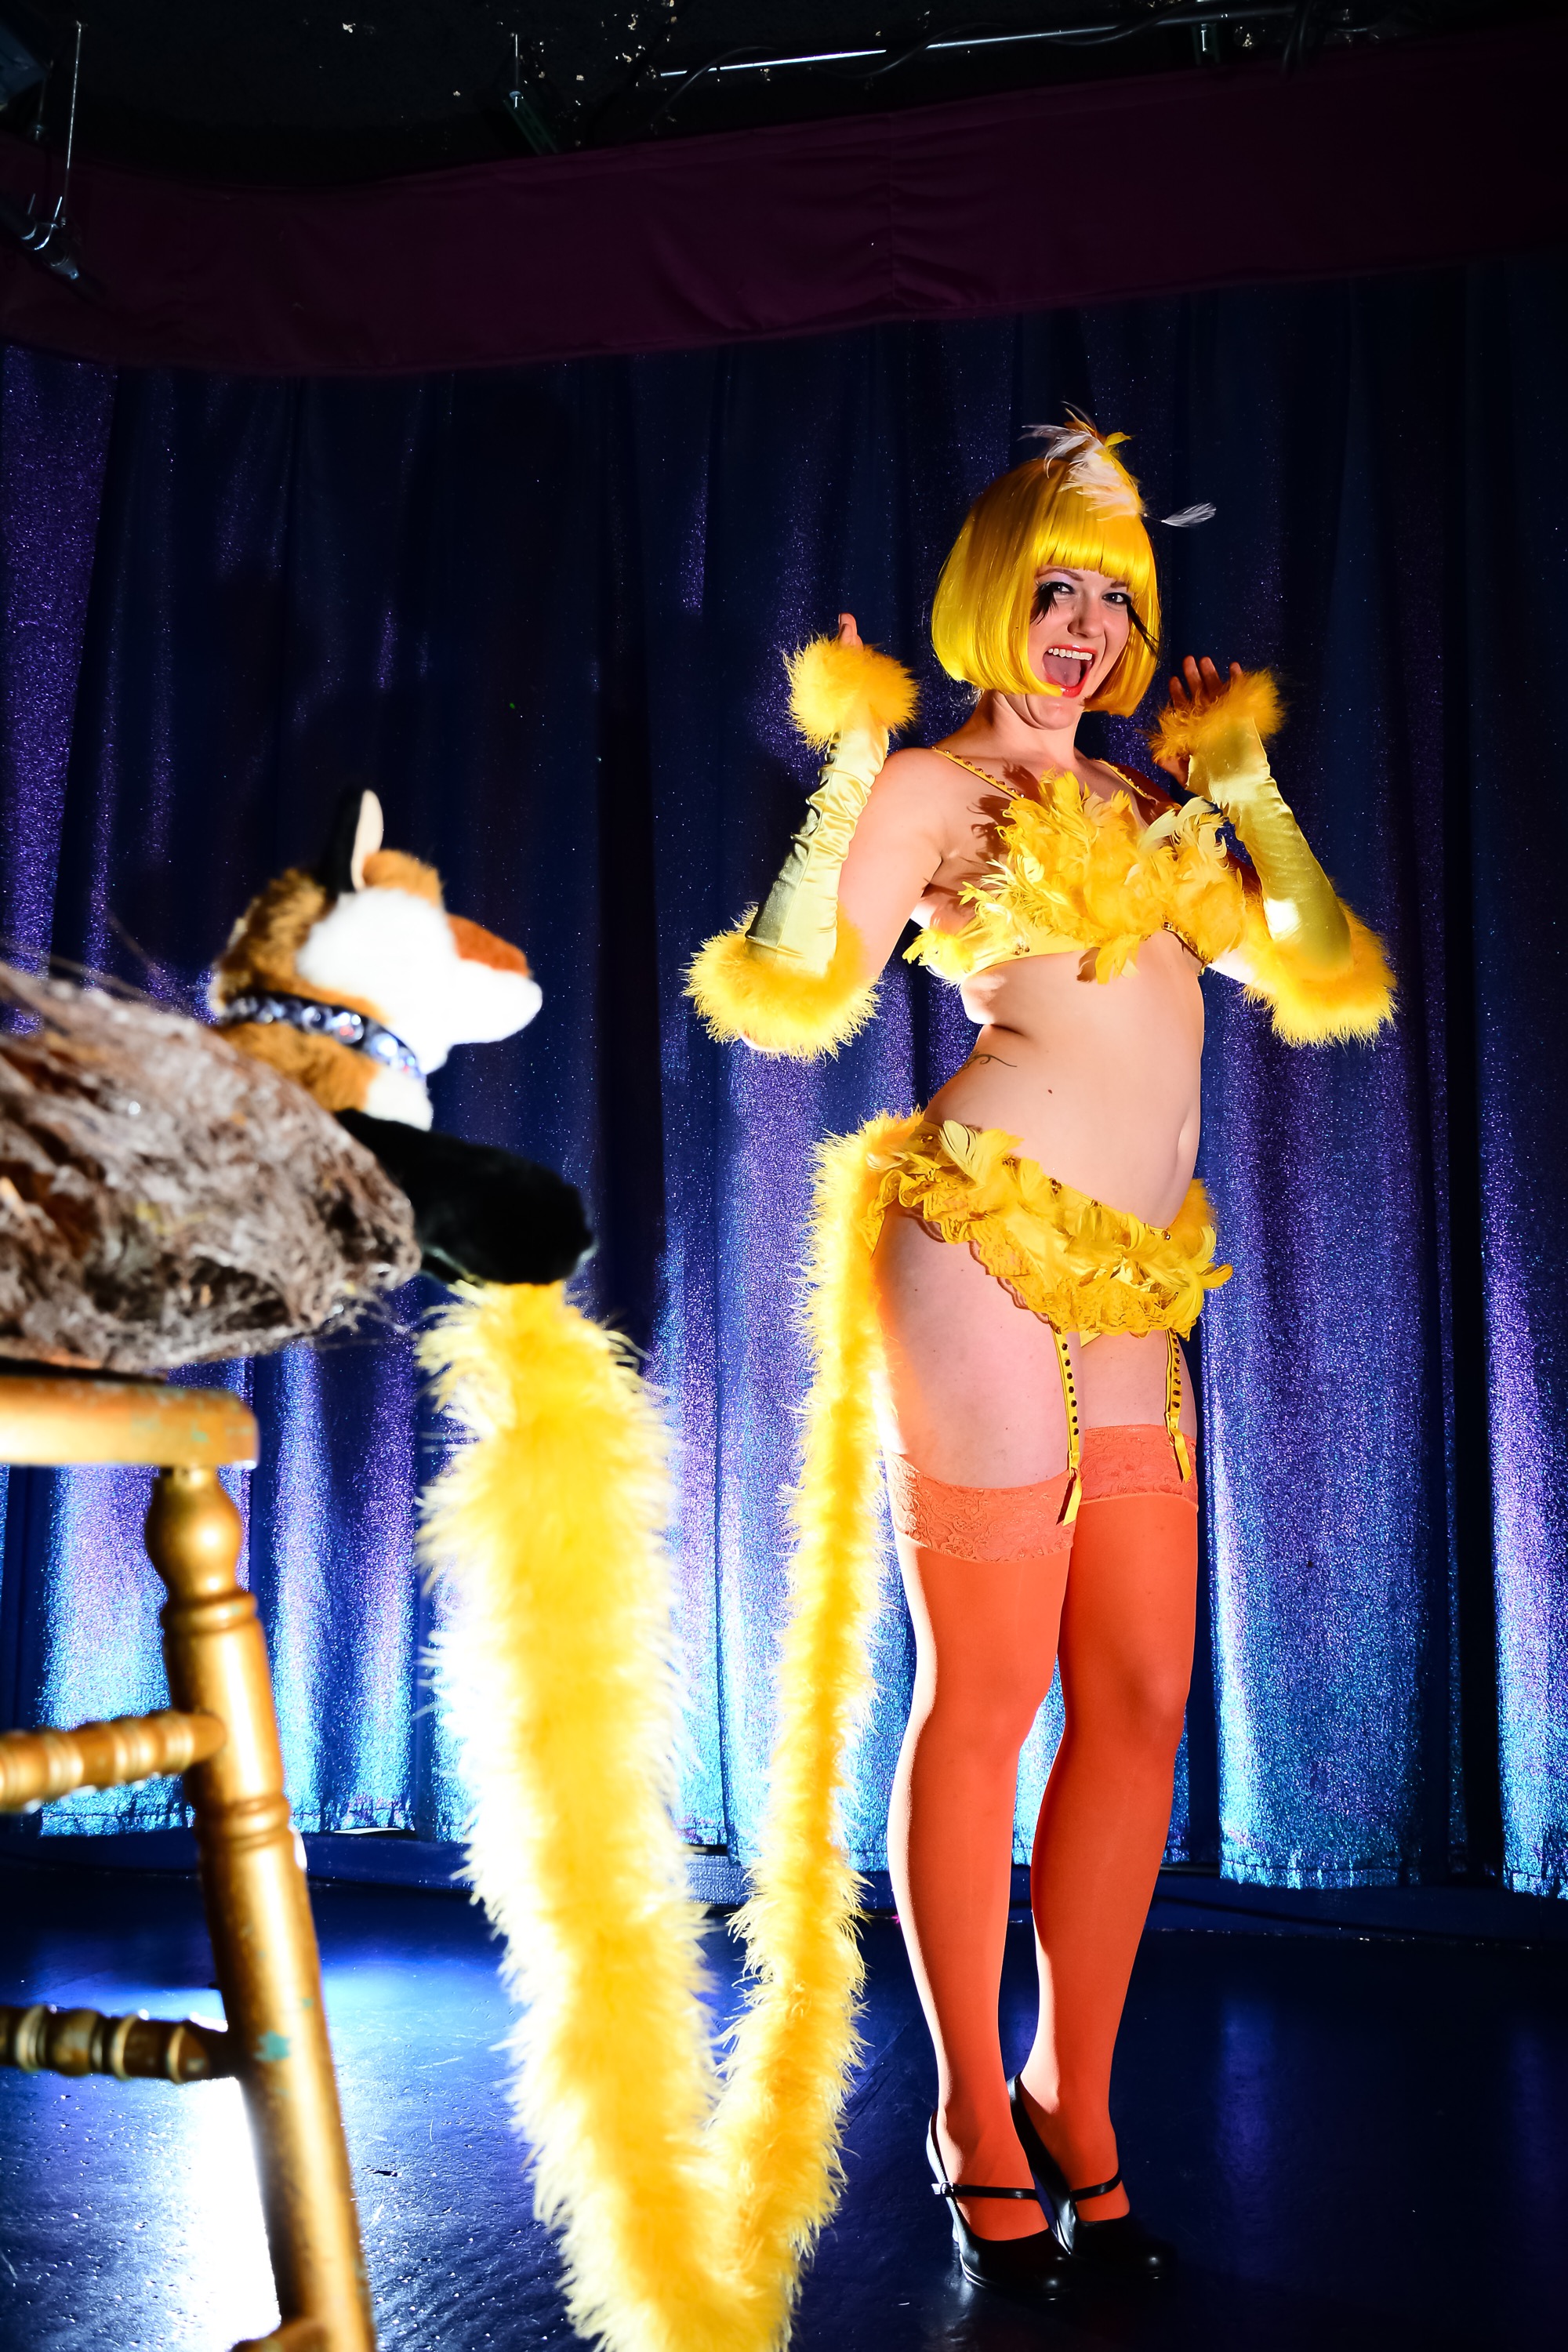
Burlesque Photoshoot
This was a chance for me to stretch my legs out with burlesque performers at an impromptu photoshoot.
Originally, this was supposed to be a private posing session for an artist group that I am loosely a part of. I was invited to it because I am a photographer and they wanted to have reference shots of these lovely performers.
Luckily, I keep a lot of my equipment at work which is nearby. Because it was an impromptu invitation, I only brought 3 flash guns and a couple of remotes. I set the backlight as the master strobe and the others as slaves. My slaves (key & fill) were also set to 1/2 and 1/4 power and the master to full power. Obviously, the key and fill strobes were adjusted to the scene, but the backlight was always set to full power.
I did do some color-grading and cropping in Lightroom, but overall, I left the photos as is. Part of the importance of leaving the photos as close to the original was for the artists’ sake. I didn’t want to overly influence their renditions, as the whole point of this exercise was for the artists.
Please enjoy.


Osmotics Video Shoot for Dillard’s

This was a product info shoot with the President/Founder of Osmotics Cosmeceuticals for the Dillard’s DTube site and to play within the stores for their Osmotics sales teams. I shot this with my Nikon D7100 and Tascam DR60D MkII audio recorder/mixer with Sennheiser eW 100 G3 wireless transmitter/receiver’s and a Voice Technologies VT500 lavalier mic. I lit the scene with (2) 500-LED dimmable photography lights and an 18-inch fluorescent ring light. All were rated at 5600ºK.
My camera was set to a custom user setting (U2) set to 640 ISO at 1/60th shutter speed, Picture Control was set to Vivid, with a sharpness at 6 and contrast at 3 (everything else was set to 0), the video setting was set to 1920×1080/24p. I used an 18-105mm Nikkor VR lens with Hoya UV[0] haze and circular polarizer filters. I did forget to record the lens settings (which I’m pretty sure was set to f/4 at a focal length of 24mm). Unfortunately, the camera doesn’t record much metadata in video mode. It will not record actual focal length, aperture setting, +/- exposure values, ISO, etc. It will only record white balance, picture control and the most basic lens info (i.e., 18-105/3.5-5.6). Regardless, I still love this camera, since I mostly use it in manual mode, with manual lenses, as well as recording the settings… um… manually.
Those that want to know my opinion of my audio system can read my post about the Tascam DR60 MkII. However, if you want to know about the lavalier system — read on.
The Sennheiser eW 100 G3 transmitters and receivers are great tools, albeit expensive. A single transmitter/receiver kit runs around $800-900. I purchased a dual mic kit (w/ the VT500 lav mics and eW 100 G3 plugin XLR transmitter for handheld microphones) around 5 years ago and they still perform to specification. The price has come down a little since I bought them, but not by much (maybe $300-500?). The thing I love about the VT500’s are how they perform in echoey rooms. The suite that we shot was about 3000 sq. ft., and had very old wooden floors and redbrick walls with roughly a 12.5 ft. ceiling. So, as you can imagine, it was very echoey. The lav mics performed admirably. The room echo was barely noticeable. In fact, I’d say that it was moot, since I had to purposefully and determinantly listen for it.
In summary, this was an interesting shoot. Not much of a learning experience, as it was pretty much, a paint-by-numbers project, but it’s always a good experience doing projects like this. I am one of those filmmakers that likes to work on something that I can learn something from, but working on projects like this is a great way to improve on your skill set. It’s just like attending seminars or forums that cover things that you already know. The intrinsic value of this is that you know for a fact that you are still following up on the current standards or trends.
Thank you for taking the time to read this blog. I hope it was informative and educational.
New Toys: TASCAM DR-60D MKII

TASCAM DR-60D MKII 4-Track Recorder/Mixer for DSLR’s
Why did I buy this particular unit?
Well… To be honest, I already had a ZOOM 4-track recorder/mixer/controller that can actually record (via computer/software) 192kHz HD audio that works great. However, the ZOOM recorder/mixer was designed for music recording in mind, and though that is not a valid reason to discount its value, I needed something a bit more portable. Now, when most video/audio folks here the name, “ZOOM,” they automatically envision the H2, H4, H5 or H6 models. None of which are the recorder that I purchased. I purchased the R8 model, which is a mini control surface mixer/recorder. Why the R8? Well that one’s easy to answer… because I’m more of a tactile person and I wanted something that I could have more hands-on control than menu based control. Certainly, the R8 has a lot of menu functions as well, especially when it comes to the EQ section, but it is bulky compared to its counterparts. If your production is shooting in a studio that doesn’t require a lot of movement or is relatively stationary, then the use of the R8 is perfectly fine. But, if you’re shooting on location or need to move a lot (or even a little), then the R8 will become cumbersome in a matter of seconds. Plus the fact that the XLR plugs don’t lock, which can make movement rather precarious.
Now, that leads us to the TASCAM DR-60D. The DR-60D mounts directly to the DSLR’s tripod mounting screw. The DR-60D also has a tripod mount built into it, which is common sense, and would be worthless without it. The tripod mounting screw bracket is also removable in the case that it is used as just a 4-track recorder. This allows the mount to be used in various configurations with support rigs and such. It also comes with strap mounts that can be used in a similar fashion, but is not its intended use, which is for use as a stand alone mixer/recorder.
Okay, okay… I’m getting to the point. Why did I buy it? Well, the main selling points to me are, its “dual record” mode that allows you to record two tracks with one recording at a set value and another that records and a lower value as a safety. Which means that if you are, “running-and-gunning,” and you don’t have time to properly set the recording levels, you will at least have a lowered safety track to choose from. Now, this doesn’t mean that this is a perfect solution to proper levels, but it is a good option to have. However, the most important function to me, is the audible slate function. Why is this important? Well, anyone who has recorded separate audio without any type of slate knows the perils of aligning audio tracks with their intended video tracks. It may not be hard, but it is a time consuming process. The beauty of this product is that it has the option to leave an audible tone, at either, the head, the tail or both, on the clip. When it’s pulled into Final Cut Pro X or Adobe Premiere Pro it works seamlessly with these NLE’s, “synchronization” and “merge clips” functions.
I’ll use Premiere Pro for my example, since I’m not a fan of FCPX (I’m an old school FCP user. I’m sure those in the know, can assume why this is). In Premiere, all you have to do to merge clips by placing a marker at the beginning (or end) of the slate tone. This can be done in either, the Timeline or Project panel. In the Project panel, after marking, simply use any form of the right-click function to access the menu and select, “merge clips,” then select “clip marker” (there is a drop down list next to the radial button, if you have more than one marker attached to that clip). In the Timeline panel, you will have to select “synchronization” first. This will open a similar window as with “merge clips” and everything works exactly the same as with “merge clips” in the Project panel. This will not merge your clips, rather it will align all the selected clips’ markers. You can “merge clips” after this process is completed. Of course, there is another variable option, you can also merge audio clips in the Project panel and drag it to the Timeline then merge it with the intended video clip or you can merge everything in the Project panel and drag it into the Timeline.
Okay, so overall, this is a great product for the price. It’s easy to use plus, Tascam always has user-friendly manuals. If you are an indie filmmaker, this is a fantastic buy. It’s build is decent, to say the least. It definitely could be sturdier or heftier, but by cost, you can’t really complain. I love my DR-60D and I’m glad that I bought it.
Product Photography
In this post, I’d like to talk about how I approach product photography.
First things first: research is key. You always have to do your due diligence when it comes to product photography. Why? Because trends are a huge influence in any commercial industry. So, if you don’t research what are the current trends, you’re more likely to miss the target on where you intend to market your photos. In the case of product photography, the trend is to have the product well and evenly lit. Now, to be fair, editorial product photography has a lot more leeway when it comes to creative lighting and set ups. In this blog, we are not going to cover this topic. Instead we are going to stick with the basics of straight product photography. These types of photos are used for catalog purposes and are found in physical product catalogs, promotional material, online marketplaces and brand sites. Now, you’re probably thinking, “okay, what’s so hard about well and evenly lit photos?” Well, this is not the trend, rather it is a standard. The trend is the use of a specific flag when taking these photos. Let me digress a moment for those new to photography, film or video. What is a flag? Well, obviously we’re not talking about a piece of cloth that is attached to a pole, though some flags have this appearance, hence the namesake. Technically speaking, a flag is a light modifier or a lighting control. It is simply an object or a device that is used to block or modify your light source. Examples of lighting modifiers can include such devices as, barndoors, bounce boards, butterflies, cucoloris/gobo, dots, egg crates/honeycomb grid, reflectors, scrims, soft boxes, etc. There are several different types of flags, which I’m not going to get into, since they all pretty much do the same thing. In this post we will be discussing a specific type of flag for a specific type of product photography.
Secondly, you will need an infinity (i.e., no horizon lines) backdrop/background. This is a backdrop that is similar to a cyclorama (aka: cyc [pronounced, “psych”]) wall where there is a curved transition where the wall meets the floor, which eliminates the perception of depth or an end point. You’ve probably seen this used with paper, muslin or vinyl backdrops. Depending on what style you are attempting, your background will usually vary between white, black or grey. Black and white are the most commonly used backdrops. You can purchase (or rent) a tent, table, mini cyclorama or studio, or you can make your own. I do a little of both, depending on the level of difficulty of the do-it-yourself (DIY) project. Backdrops are some of the easiest DIY projects, because they can be relatively inexpensive to make; construction, craft or Bristol paper (or foam-core board or certain types of cloth) comes to mind.
Finally, we’ve come to the flag. This can also be an easy DIY project, using the same materials mentioned in the backdrop section. Besides, material, size and shape of the flag, one of the most important factors of a flag is reflectivity (or rather, anti-reflectivity). All black mediums are not the same. One brand of black construction paper may not have the same reflectivity as another. This is where your light meter comes in handy.
Safety tip: Remember that if you are working with “hot lights” (continuous or high-intensity lighting such as, incandescent, HMI, halogen, etc.), you will need to verify that the flag medium that you are working with has a heat rating or has enough distance from the heat source to keep from combusting. It is important to note that most paper products have an autoignition point of around 425º Fahrenheit. Personally, I use approximation standards when dealing with electricity and hot lights. Just as with employing the “paper amp” (a rounding method used to stay within a fuse’s amperage rating) for power consumption (wattage) when dealing with fuse boxes, with hot lights, I use a less than 400ºF rule. I will test a paper product that I intend to use as a flag well before I employ it. In cases where I don’t have a choice, I’ll use Cinefoil (this is an expensive option, about $20-$30 for a 12-inch by 50-foot roll). Cinefoil is made from black anodized aluminum foil which is far thicker than the standard kitchen aluminum foil. It can handle relatively high temperatures and can be shaped to the user’s needs. It is a staple in filmmaking circles. However, because of its price, many people (including me) will reuse it until it is no longer viable.
The flag that is commonly used for many types of cosmetics, skincare and perfume product photography is the “Zebra ‘M’ flag.” Why is it called, a “Zebra ‘M’ Flag?” Quite simply, because it produces a black and white stripe effect on the product. The images below are examples of the results that a “Zebra ‘M’ Flag” produces. What is the “M” for? Well, it is basically a shoot-through flag that slightly resembles the letter, M. The latest product photography work that I have done and continue to do is for Osmotics, LLC, a luxury anti-aging skincare brand (i.e., a cosmeceuticals brand). So, the following images are from the Prime line of Osmotics cosmeceuticals.
 Product photography using the ‘M’ flag
 Product photography using the ‘M’ flag
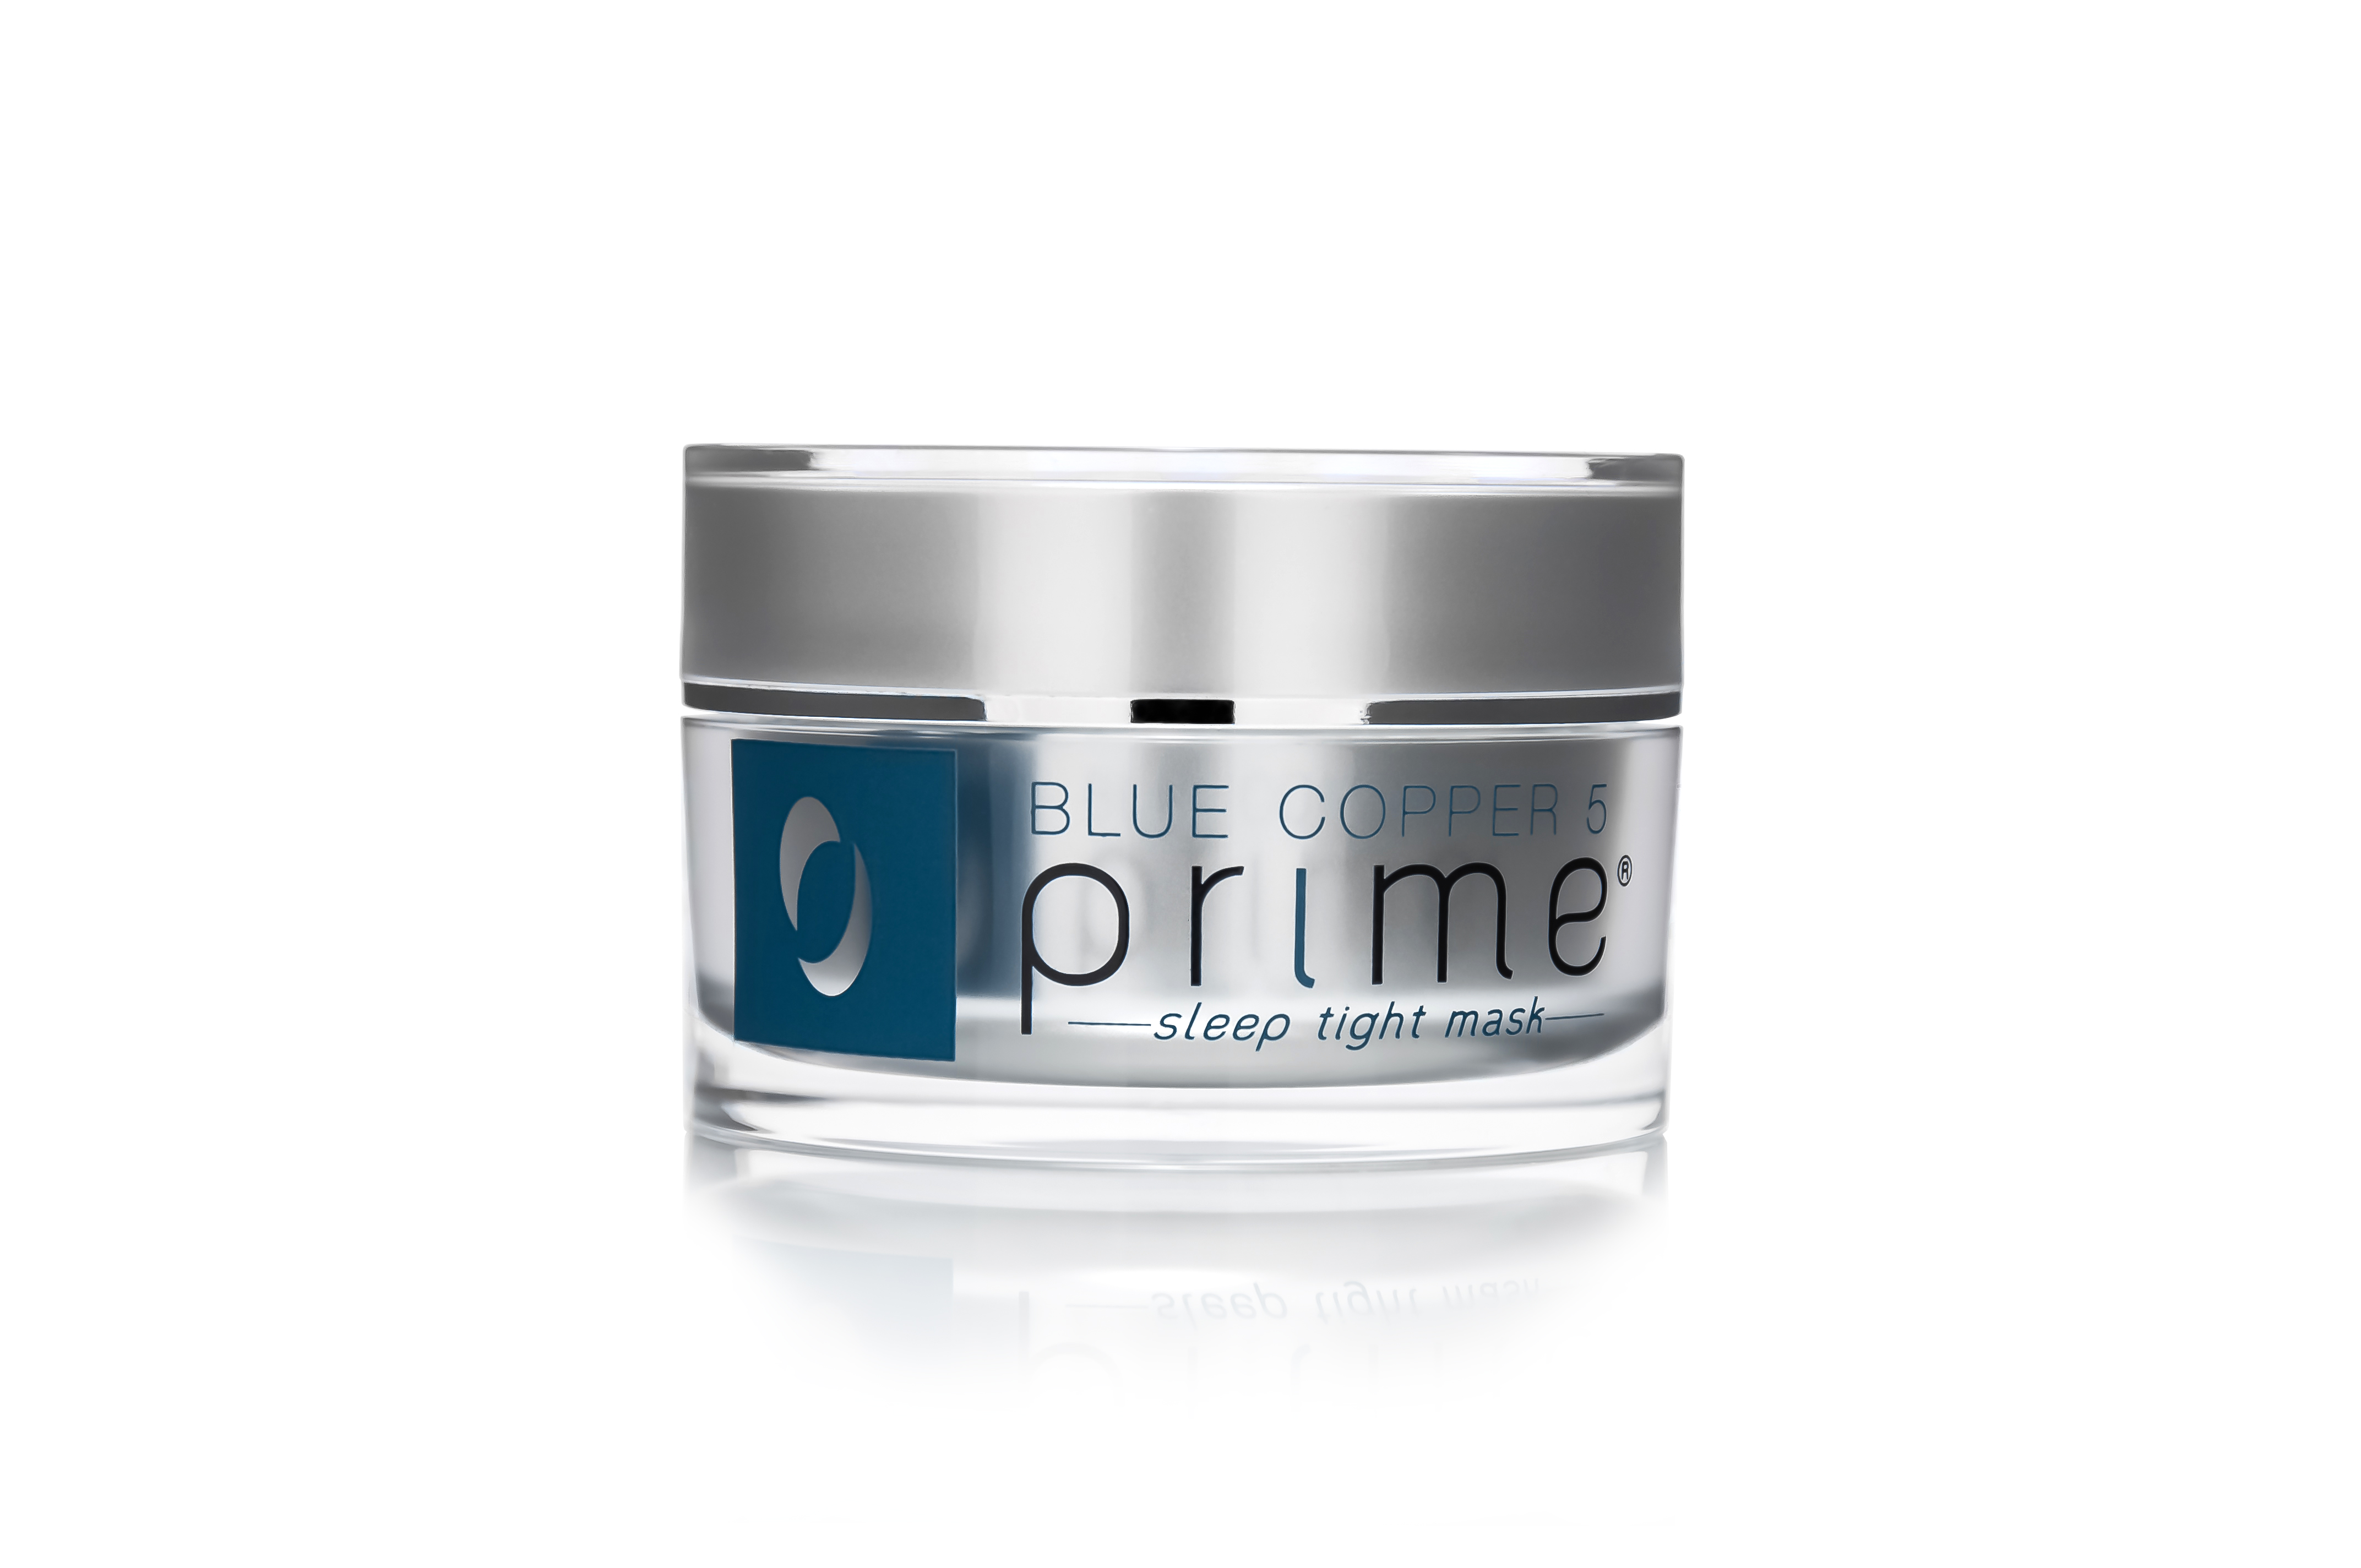 Product photography using the ‘M’ flag
As you can see, these products are different sizes that vary on the reflectivity scale. There were a few challenges to overcome when it came to shooting this set of products. First, was creating the appropriate sized “Zebra ‘M’ Flag.” This was a trial and error process (along with lighting the scene and adjusting the camera’s aperture and shutter angle). Second, the studio that was available to me was very small (about 100 sq. ft. or 10’x10′), but was okay for a product shoot. I say, “okay,” because the room was also used as an overflow storage area, so the working area was actually much smaller than the given dimensions. Third, because of the small working space, I could only stage and adjust products from the front. In a larger space, you would normally want working space on all sides of your table, thus allowing for more efficiency when making adjustments. Furthermore, the lack of space makes lighting a little more challenging, because at close distances it is important to have lights/strobes with dimming controls. Otherwise, you’ll be relying completely on gels, scrims or other light modifiers, which will make setup times longer.
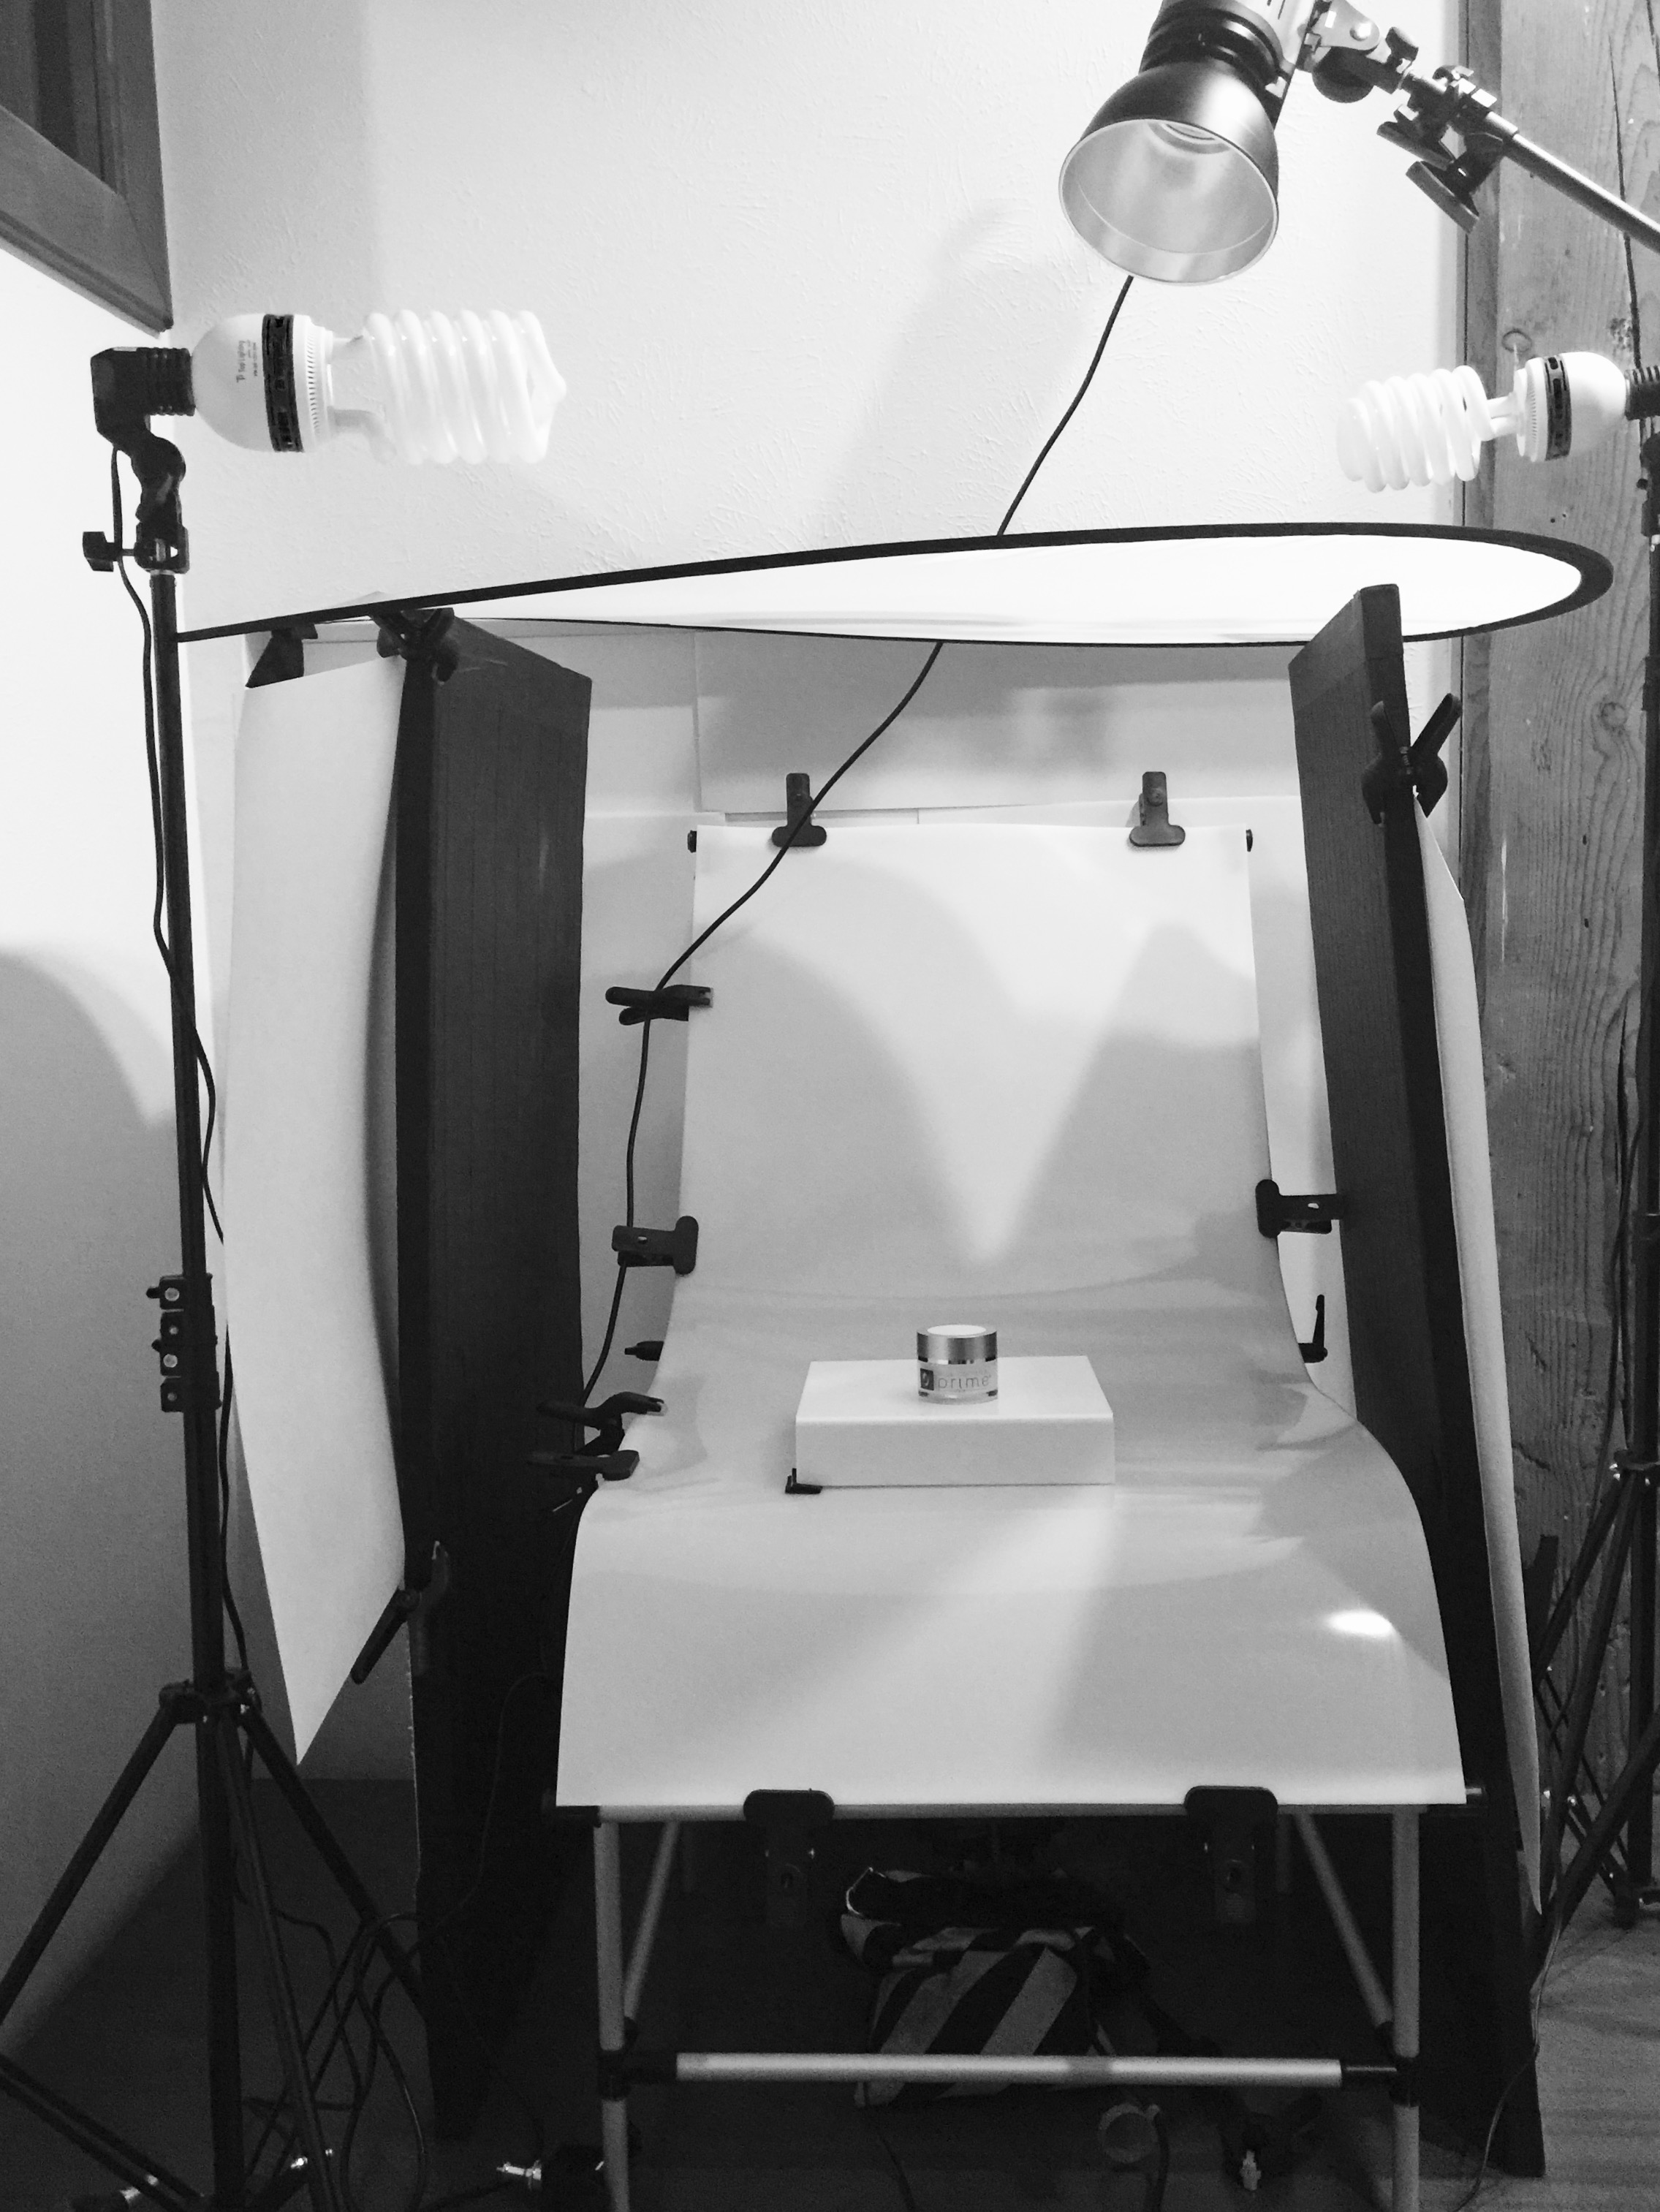 Product Photography Table Setup
 Zebra M Flag
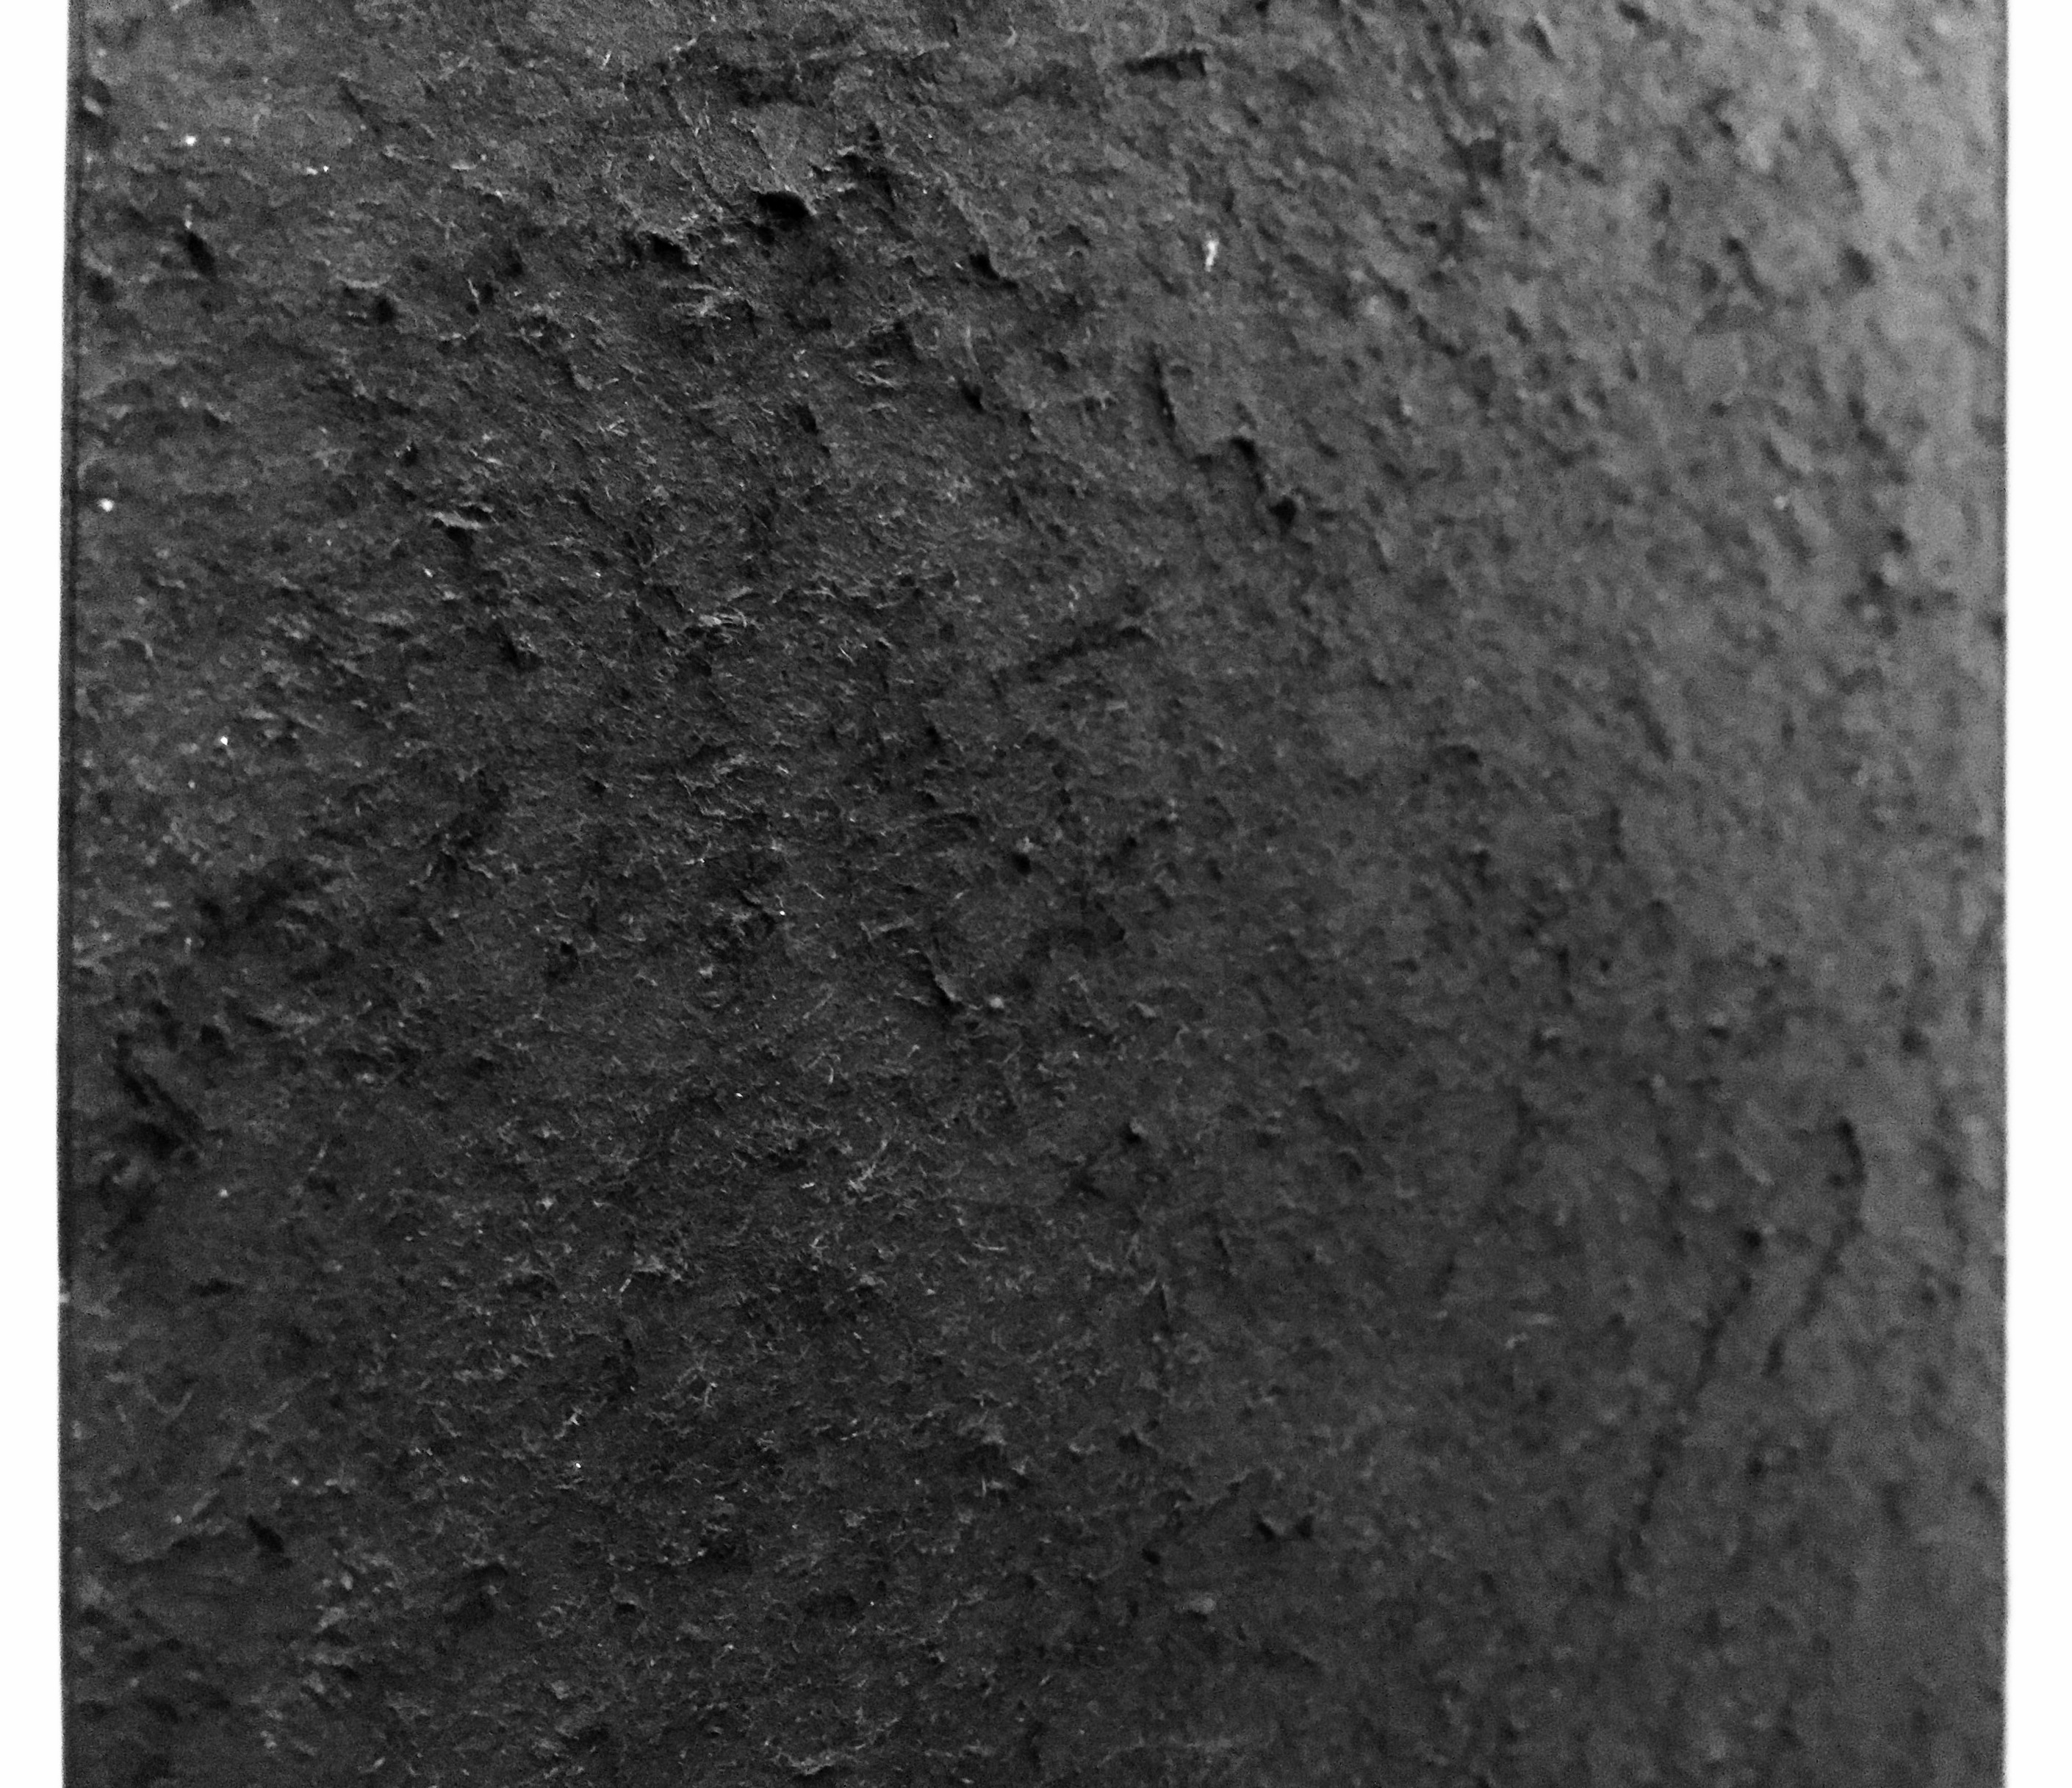 Closeup of black strip
The table’s surface is a reflective, white, translucent plastic. I employed five different lights in this setup. First, the ambient light is created using two large 5600ºK CFL lamps. This is used to fill any hard shadows that may be in the shot, but their main purpose is for focusing. The key light is a 300W/s strobe at the top of the image. Though slightly off-center in this picture, it was centered for the shoot. A second strobe (not shown) is below and to the rear of the table. This acts as the background light. It is aimed toward the ceiling (like an uplight), as well as bounced off of white foam core boards placed behind the table that help bounce light through the translucent plastic. This is meant to blow out (overexpose) the background into an even white, which will help when it comes time to separate the image from the background in Photoshop. Avoid aiming your light directly at the back of the product, as it will cause softening of the edges as well as a host of other backlight issues such as, flaring. To reiterate, this post is for a specific style of product photography. Flaring, backlighting and other creative techniques are perfectly fine in this category when shooting for editorial or marketing purposes.
How is the key light used in this setup? Well, it is used in conjunction with the “Zebra ‘M’ Flag.” A “Zebra ‘M’ Flag” is used like a reflector to create the dual light bars and the black center strip. The key is bounced off of the flag and back onto the object. Some flags are made with varying stripe styles. It doesn’t necessarily need to be limited to two white bars and a center black strip, this is just the trend. Also, the key doesn’t have to be placed in the same way as it is in this example. This setup is by necessity, because of the lack of room. I would have preferred to place two keys (at half the power) in a butterfly setup at the sides of the shot and angled into the flag.
I used a bead board (a type of reflector) that I made from insulation foam (that can be purchased at any Lowe’s or Home Depot) and black gaffer tape. Since a lot of insulation foam has only one clean side (the other side is printed with brand info), I covered the printed side with black gaffer tape to create a double-duty bead board. I use this a lot, because it’s great as a large flag or reflector and is light enough to use with C-stands. It also lasts a very long time, even with a modicum of abuse. I’ve had these two bead boards for almost 5 years.
In this setup, as you can see, the bead boards are used as a type of flag, but actually they’re just being used as black walls. This helps to create the wrap around gradient effect that you see on the sides of the product. The white card stock that you see clamped to front-facing sides of the bead boards are there to keep out light, dark or color spill that will show up on the product. In this case, it was to create a harder, wider line for the white stripes. I’ve also used black card stock in similar setups.
The overhead silk is used to soften any specular spill onto the product. The product stand on the table is made of reflective white plastic. This was used to create the product reflection (I prefer to do as much in-camera as possible). This is just a personal preference that you can choose to do or not, because I know quite a few people that would create the reflection in post.
Now, I work predominantly as just the photographer when it comes to product photography for Osmotics, LLC. The majority of the post work is done by me, but our Art Director may want to add minute details or elements or completely overhaul the image, so the only real Lightroom and Photoshop work that I do, is touchups, color correction, color-grading (if needed) and layer masking (separating the product from its original environment). I submit the photos in JPG, TIFF and PSD formats. Marketing needs are fluid, so the PSD files are never flattened or merged nor is the background layer ever touched. I keep all the layers separated and leave masking paths open. This is how the Art Director prefers it, so I adhere to those standards.
As for camera settings, I’m not going to get into it, because it will vary from camera-to-camera and setup-to-setup, as well as the shooting environment. All I will say, is that you to achieve sharp edge lines on your product, you will need to have your aperture closed down considerably. These photos and other similar ones were shot at an aperture at or between f/16 and f/22.
Okay, I’m going to assume that you want to know how I made the “Zebra ‘M’ Flag.” Well, it’s actually a very simple process that even a child could accomplish. It’s basic arts & crafts.
Supplies:
- (1) Black foam-core board (20″x28″)
- (2) White card stock paper (22″x28″) or Mylar card stock paper
- A strip of black cloth or construction paper
- Large cutting mat
- Large T-square or ruler
- Utility knife
- Adhesive
Construction:
- Measure and mark the layout pattern
- Cut all paper pieces to desired size
- Cut out the center shoot-through gap on the foam core
- Glue the white card stock (or Mylar) to the foam core
Note: the second and third steps are interchangeable. The center cut is much longer than it appears in the example, because there is a strip of black cloth clipped to the flag. The purpose of the cloth is to cover the center cut-out around the lens. You can use black construction paper if you don’t have cloth available. This will keep the black strip consistent in the photograph as well as keep out extraneous light.
Finally, to allow for more absorption of light and less reflectivity (since foam core has a smooth surface) from the black strip, I scored the surface of the center strip and peeled the top layer of paper to create a rough surface. By creating a rough surface, much of the light will be absorbed, and that which is reflected, will be sent off in various directions.
Okay, here’s a behind-the-scenes process that we do here that may not be common practice for all product photographers. When I shoot each product, I also shoot a blank version of the jar. This is so the Art Director can composite in text, logos or anything that may come up that requires a blank. On the Prime Eye jar, because the internal cup (which holds the actual product) is so much shorter than the height of the jar, the print on the back of the jar can be seen in the image (not just through the back, but it also created a reflection on the bottom of the jar). Instead of doing incredibly painstaking work in Photoshop, I chose to remove the print with a solvent and a plastic razor blade (you can find it at Ace Hardware in the paint department near the paint scrapers and putty knives, these are made for removing things like bumper/window stickers). This is also a painstaking process, because of how careful I had to be to not remove or mar the jar’s surface or the front print. I practiced on a couple product tester jars first before I attempted it on the ‘work’ jar.
Thank you for reading.
Snowy Denver Days via iPhone 6+

It’s great when you see an interesting photo op, but choose to pass it by, and a week later the opportunity returns. I saw this bike last week on my regular Starbucks run before work. I kind of regretted not taking the shot, but it was a busy week and I was being lazy.
Lo and behold! It returned this week, so I set my quad-shot Americano down and took the shot. It’s not quite the angle that I wanted to shoot it at, but I was in a rush to get back to work. “C’est la vie, non?”


The second set of shots is of the courtyard of the building I work at, which I shot from the atrium. Though difficult to see, it went from clear to dumping buckets to clear again. It was like this all day.

The last shot in this set was shot using the Hipstamatic app on my iPhone and edited in-phone for more contrast. This is the view from my office window. The beauty of working in this building is days like this. Snowy days in the courtyard often makes me feel like I’m working in a snow globe.
Denver Comic Con 2013 – Pics
-

- Drone Droid
-

- Stan Yan
-

- Kitty Pride – X-Men
-

- Joker Femme
-

- Han Solo Femme
-

- Henchman 24 – Venture Bros.
-

- Mojo Jojo
-

- War Machine
-

- Firestorm Femme
-

- Odin and Valkrie?
-

- Assassin’s Creed Femme
-

- Princess Mononoke
-

- Dark Helmet
-

- Dr. Who Family
-

- Oscar the Grouch
-

- DCC 2013
-

- Dark Phoenix
-

- Scott Springer and Gerhard Kaaihue
A Sniper’s Tale
Here’s my latest project for 2013 called, A Sniper’s Tale.
“Life is about choices. In spec ops, it’s choices that define you.”
This is a narrative about an elite sniper who is in a compromised position and must choose between two hard choices, stay and provide overwatch for his unit or bug out and save himself. In these final moments he sees only one memory, the mission that got him into this elite unit.
This is the thesis project for my digital cinematography degree. This project had to stay within the policy and guidelines concerning excessive violence on screen as stipulated by the university. Therefore, I chose the dramatic versus action format for this film. All the violence depicted in this film is by implication only.
Credit Note:
All of the music, Sound FX and Visual FX were created by us or obtained through royalty free/Creative Commons licensing either by free download or purchased. Most of the SFX were retrieved from the Apple Loops library via Soundtrack Pro. The entire film was edited in Final Cut Pro 7. The VFX clips were created in After Effects CS6. Red Giant’s Magic Bullet Suite (Colorista II and Looks) for Final Cut Pro was used for color correction and grading.
The film was shot on location in both, Parker and Boulder County, Colorado, in July 2013 and edited in August 2013. This film was shot on the Sony FS100UK HD camera (with Sony and Nikon lenses) in the 1080/24p FX mode at 24 fps (except for the timelapse shots which were recorded at 1 fps).
Denver Comic Con 2013
Here with my best friend and artist/illustrator/graphic designer at the third largest comic convention in the US.
Always fun to see all the cosplayers out and about.

The MUA (Make-Up Artist)

Respect your MUA
MUA: Kahulani Davis, Model: Uilani Davis, Photographer: Q. Ajimine
Location: Kahului, Maui, Hawaii
I know this doesn’t need to be said for most photogs, but sometimes it’s good to be reminded that the behind-the-scenes people work just as hard and never get the recognition they deserve. Of the little photography assisting that I’ve done over the years, I’ve been lucky enough to work with some really good people. People that appreciate the work and effort given in a particular photoshoot. In this blog, I’d like to give special recognition to the Make-Up Artist, otherwise known as, the MUA. I haven’t worked on a lot of photoshoots, but on those that I have, I took the opportunity to get to know the MUA and watch her (or him) at work. The MUA is often under as much pressure as the photographer, especially on paid shoots. When I work with a MUA, I like to sit down with them a good two weeks in advance and talk about what I want to do, however, because I like to work collaboratively, I let them know that they can give creative input as well. You never know, your MUA may be a fountain of creativity that adds a whole new dimension to your work. Whatever the case, be professional and courteous to your crew.
